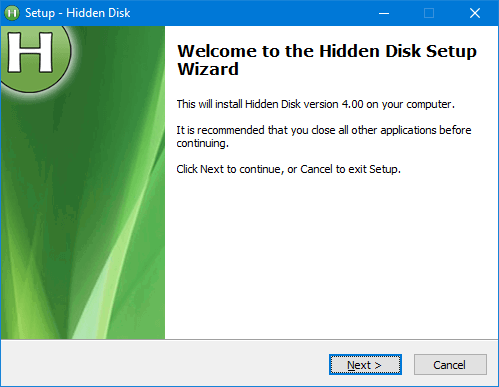
Generally, to hide files and folders from plain sight, most Windows users try to change the attributes of the said file or folder. This will successfully hide the target file. In fact, this method is used to hide some of the important system files from being accidentally accessed by the user. However, the drawback of this method is that anyone can see your hidden files with just a click or two. To deal with this, there are several programs available for Windows to hide the files, and Hidden Disk is one such free application. If you have files and folders that you want to hide and password protect, here is how you can do so using Hidden Disk.
Hide and Password Protect Files and Folders
Using Hidden Disk to password protect and hide your files is easy. To start, head over to the official website and download the freeware. After downloading, install it like any other Windows software.
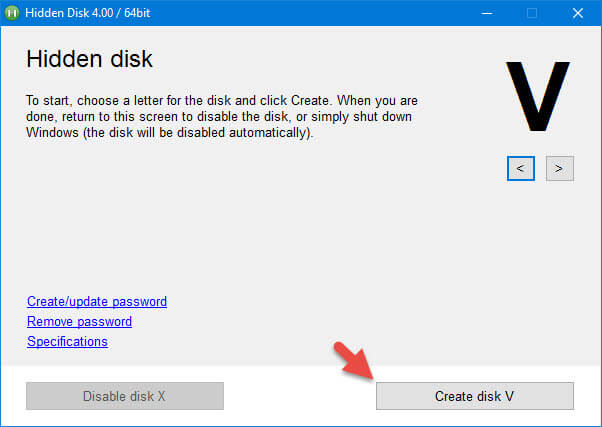
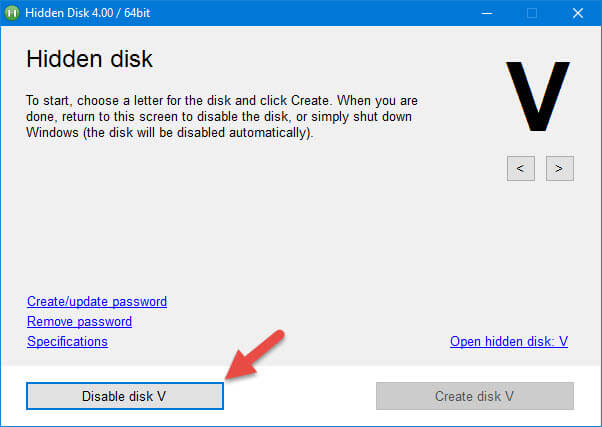
After installing the software, launch it using the desktop shortcut. The user interface is minimal, and there are no complicated settings whatsoever. To create a hidden disk, select the drive letter of your choice using the arrow buttons available on the top-right corner and click on the “Create Disk” button.
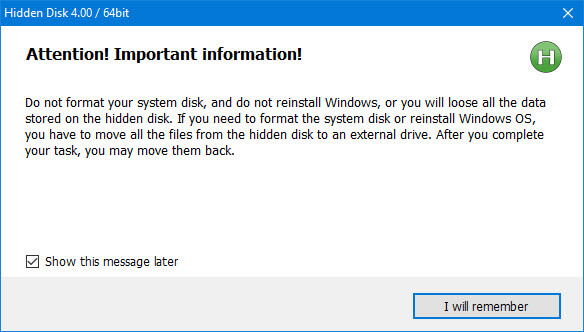
As soon as you click on the “Create Disk” button, Hidden Disk will show you a warning window telling you that you should not format or reinstall Windows as the data stored in the hidden disk will be lost. This happens because the software will create a hidden container somewhere in your Windows installation drive. In the event of reinstallation or formatting, back up all your files first.
To continue, click on the “I Will Remember” button.
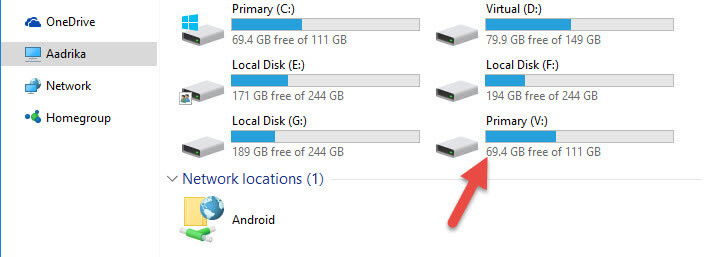
With the above action, the hidden disk will be created, and it will appear as a separate partition in the File Explorer. You can open it like any other partition and add as many files as you want, provided that you have the disk space.
Once you are done adding the files and folders to the hidden disk, click on the “Disable Disk” button, and it will remove the hidden disk from the File Explorer.
To access the hidden container in the future, simply launch the application, select the drive letter, and click on the “Create Disk” button. This action will open the hidden disk, and you can access all your files and folders.
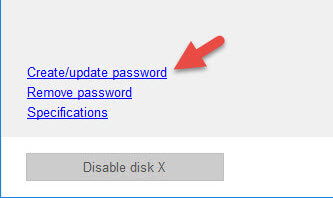
You can also protect this hidden disk with a password so that no one can mess with your hidden disk. To do that, click on the link “Create or Update Password” on the main window.
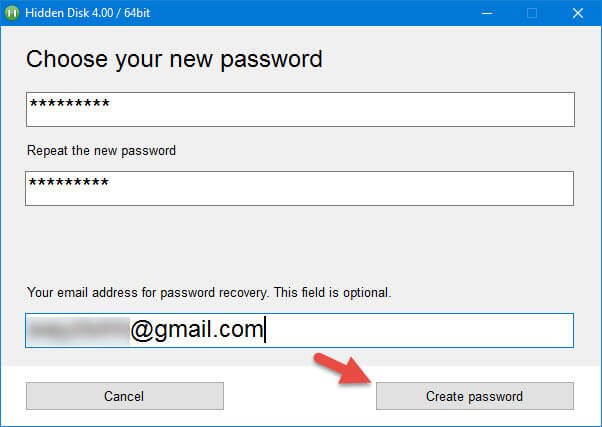
Here in this window enter your new password and email address, and click on the “Create Password” button.
From now on, whenever you try to open the Hidden Disk application, it will ask for your password.
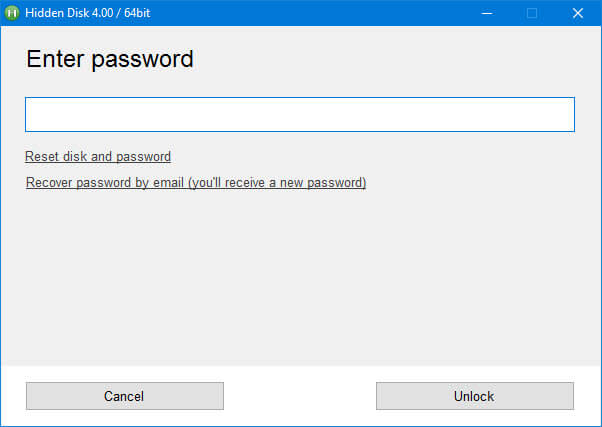
In the case you forget your password, you can click on the link “Recover Password by Email” to receive a new password via email.
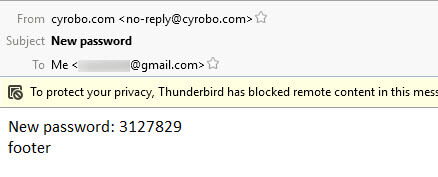
I’ve tried to recover the password, and sure enough, the application sent me a new password that can unlock the Hidden Disk.
Conclusion
As you can see, the app makes it easy to quickly hide and password protect your files and folders. However, this is not a foolproof way, and you shouldn’t trust this app to protect your sensitive data, as it doesn’t encrypt the hidden container. But it sure is helpful in hiding files and folders that you don’t want others to see. So give the application a try. After all, it’s free and easy to use.
Do comment below sharing your thoughts and experiences about using the above method to hide and password protect your files and folders in Windows.

Vamsi is a tech and WordPress geek who enjoys writing how-to guides and messing with his computer and software in general. When not writing for MTE, he writes for he shares tips, tricks, and lifehacks on his own blog Stugon.
Subscribe to our newsletter!
Our latest tutorials delivered straight to your inbox
Sign up for all newsletters.
By signing up, you agree to our Privacy Policy and European users agree to the data transfer policy. We will not share your data and you can unsubscribe at any time. Subscribe