If you are interested in using the microphone on your computer or laptop for more than just basic, personal tasks, you may find yourself wanting a higher-quality microphone than the built-in one your computer uses. But how do you set up an external microphone on Windows 10 and make it the default?
Also read: How to Set Up an External Microphone on Your Mac
Setting Up Your Microphone
Whether you decide to use a USB or Bluetooth external microphone, the first thing you need to do is connect and install it. Windows will usually find and install the drivers automatically, but if for some reason that doesn’t happen when you connect the microphone, you should check the manufacturer’s website and download the drivers from there.
Once the drivers are installed, it’s time to set up the microphone.
1. Right-click the volume icon on the task bar in the lower-right corner of your screen.
2. Click on the Sounds option.
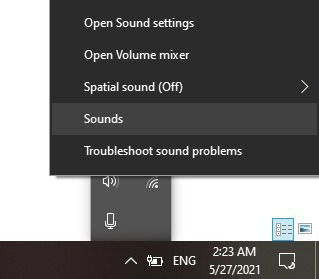 Right-click Volume button to open Sounds
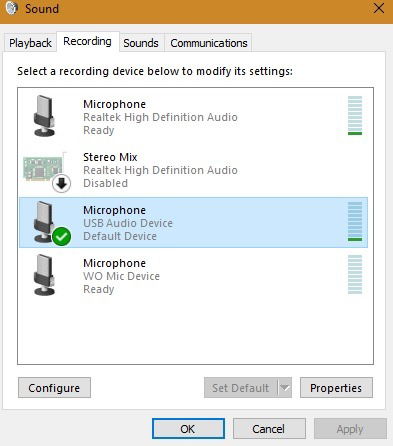
3. Select the Recording tab in the Sound window.
4. Select the microphone you want to use.
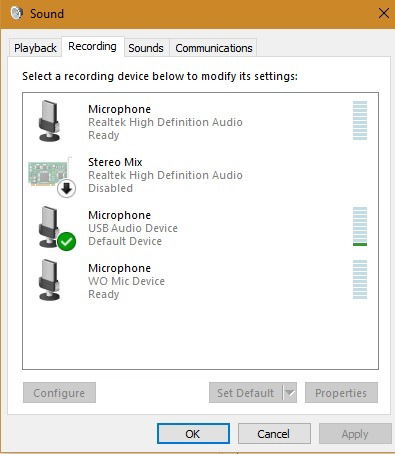 Recording device selected (USB microphone selected)
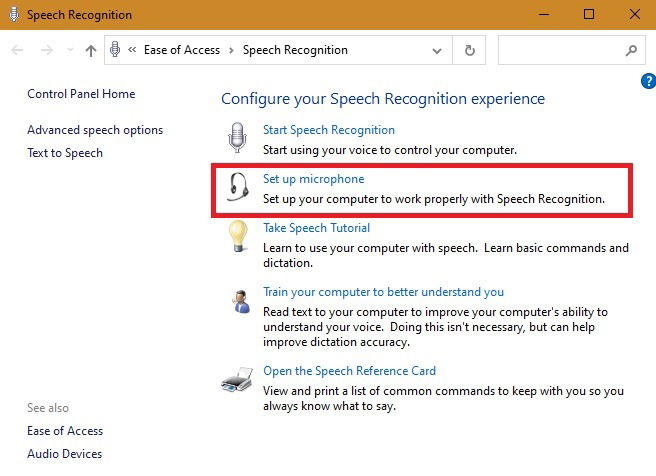
5. Click the Configure button. The Speech Recognition window will open.
 Set Up Microphone in Speech Recognition
6. Click “Set Up Microphone” (Note: this tool is designed to optimize for speech recognition, but using this will configure your microphone better for your voice.)
7. In the Setup Wizard, select the kind of microphone you want to configure. Windows itself does a good job in identifying the right microphone. If you use a Desktop microphone such as Blue Yeti, choose the second option.
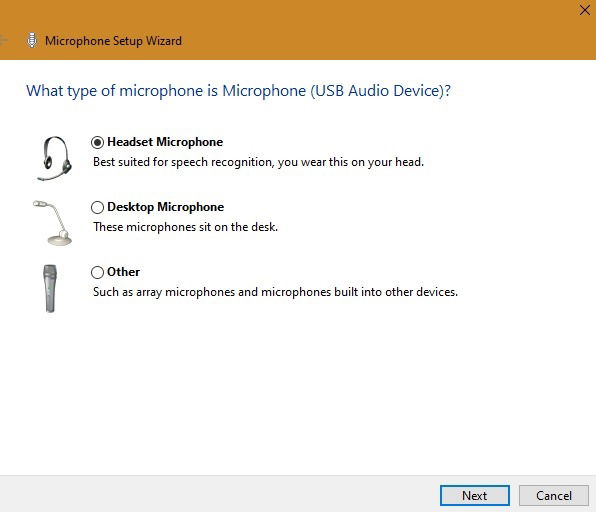 Choose Microphone Type
8. Click Next.
9. A screen will appear that gives you information concerning how to use your particular microphone. This is regarding proper microphone placement. For best voice reception, you should position the microphone about an inch from your mouth and off to one side. During a call, it is very important that you do not breathe directly into the microphone if the mute button has been unmuted.
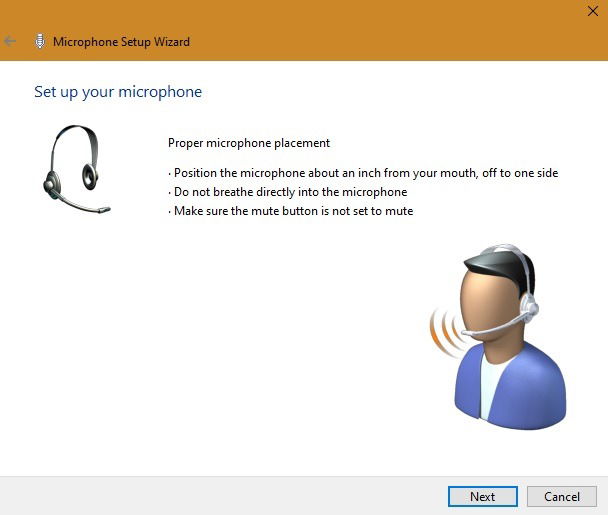 Proper Microphone Placement Instructions
10. The Wizard will give you a text to read aloud into your microphone. Do that and click Next when you finish.
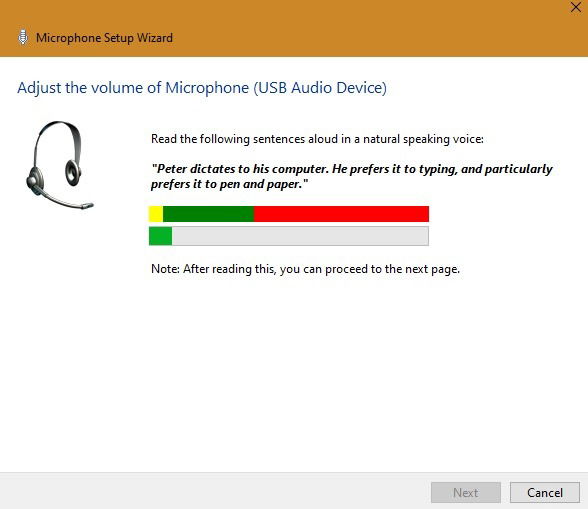 Microphone Wizard Volume Adjustment
11. You should be able to see a final status window message: “Your microphone is now set up and ready to use with this computer.” Click Finish to close the Wizard.
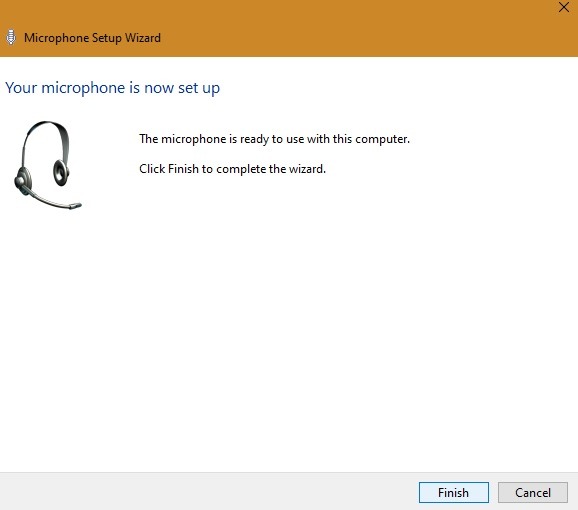 Microphone Setup Finished
A message will appear if your computer did not hear you when you read the text. If this happened, it’s probably because either your microphone was muted or there was more than one microphone listening for your voice. It will also inform you if you were not heard clearly and suggest ways to fix that problem as well.
Testing Your Microphone
If at any time your mic doesn’t seem to be working correctly, you can always go through these next steps to be sure it hears your voice.
1. Right-click on the sound icon as you did previously to open the Sounds window.
2. Click the Sounds command.
3. Switch to the Recording tab to see a list of your installed devices.
4. Speak into the microphone and see if the green bars next to your device move up and down with your voice. Use “hello, hello,” or any phrase loud enough for the microphone to pick up on it. If the green bars are are moving in order, then your device is working correctly.
 Sound Testing of Microphone
If you want to make sure your external microphone is the default sound input device, there are two different ways to access this setting.
Using the Control Panel
1. To find the Control Panel, type those words into the search box on your task bar. You can also give a voice instruction to Cortana: “Control Panel”, and she’ll respond with “All right, I’ll open Control Panel.”
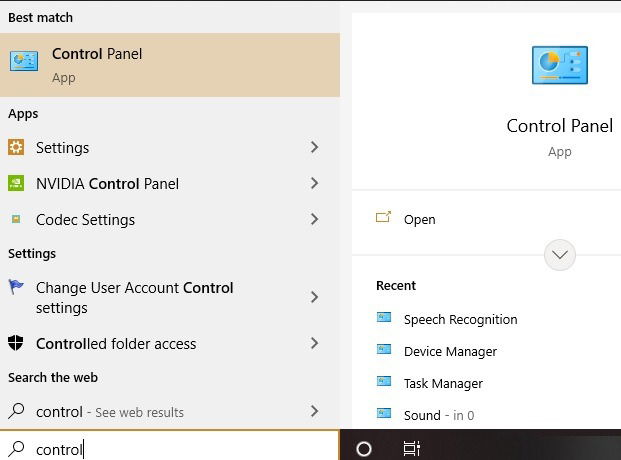 Control Panel from Search Box
2. Open the Control Panel and tap on the Hardware and Sound icon.
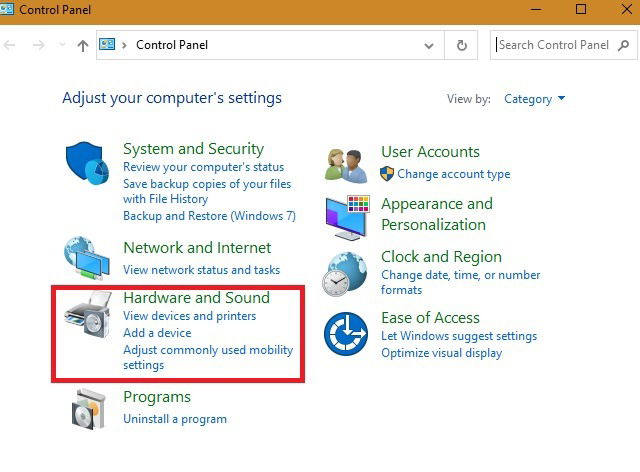 Hardware and Sound Selected from Control Panel
3. Go to the “Sound” option which will open the window. Click on the Recording tab.
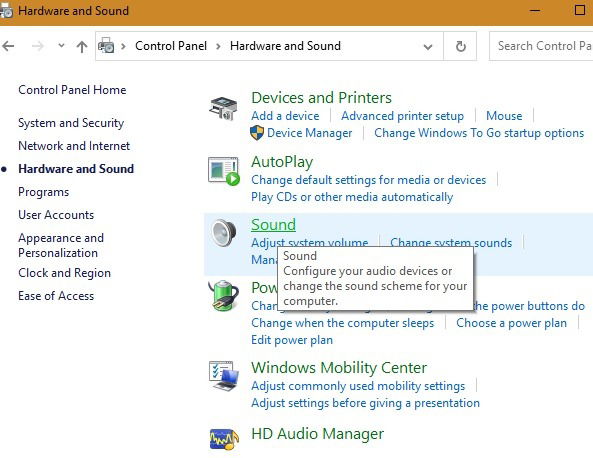 Sound Configure Audio Devices from Control Panel
4. Right-click on the recording device you want the system to default to and click on the option to Set a Default Device.
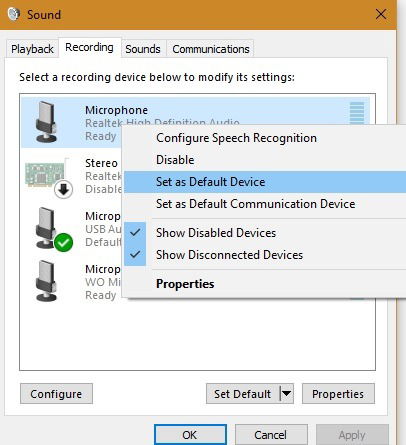 Set as Default Microphone
4. Click OK.
Using Settings
Find Settings by typing it into the search bar or click on the Windows button and the gear (usually the second icon from the bottom).
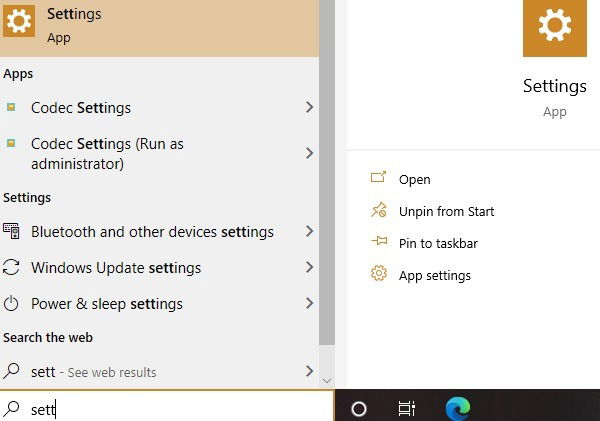 Settings from Start Menu
1. Open Settings and click on the System icon.
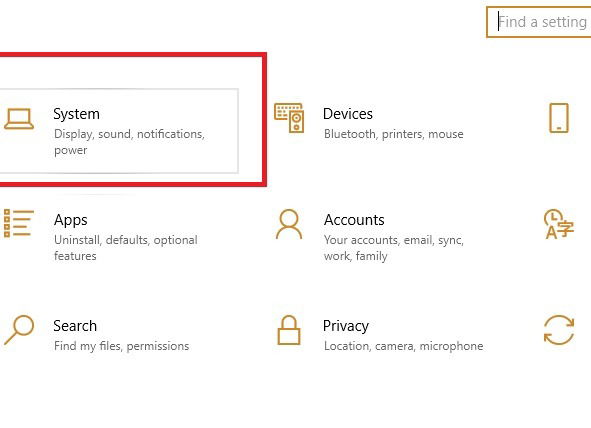 System Icon from Settings
2. Click on Sound on the left side of the screen.
 Accessing Sound Option in System Menu
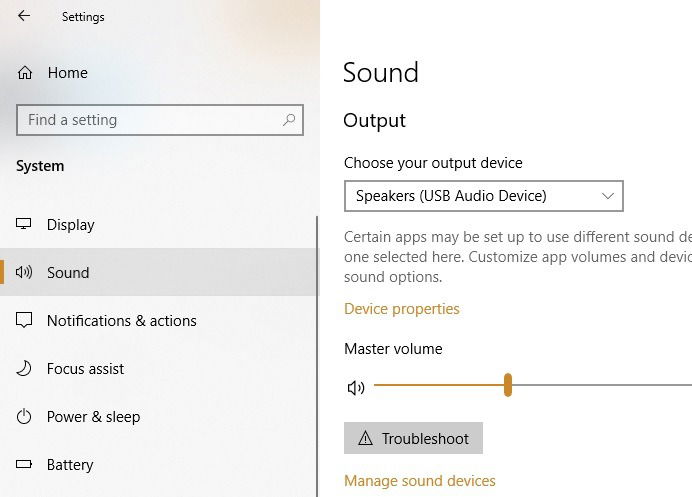
3. Choose your input device from the drop-down menu on the right side.
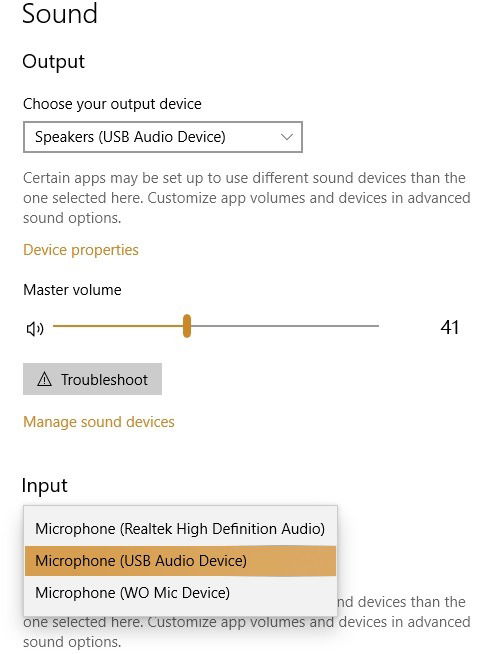 Microphone Input Device Selected
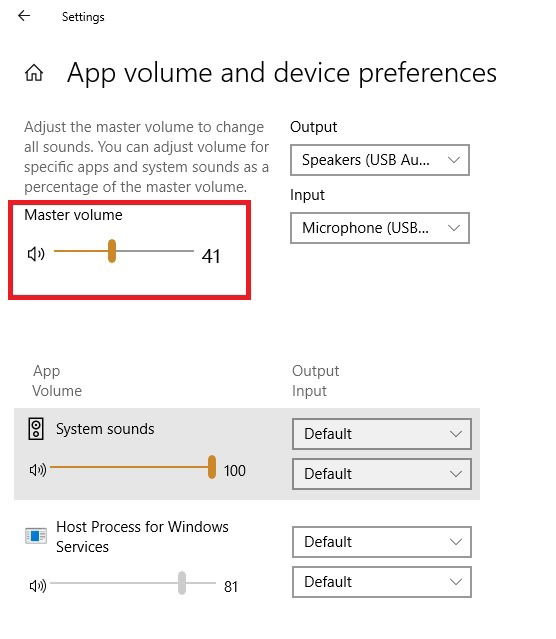
4. In this window, you can also test your microphone volume for quality voice reception. Choose “App volume and device preferences” for further adjustments and tweaking of sound quality.
 Master Microphone Volume
6. The “Master Volume” of your default microphone can be adjusted from these Settings. Don’t raise the volume too high, as it can be jarring to other people on a call. Just keep repeating sentences till you get a hang of stability and balance.
Using Voice Recorder
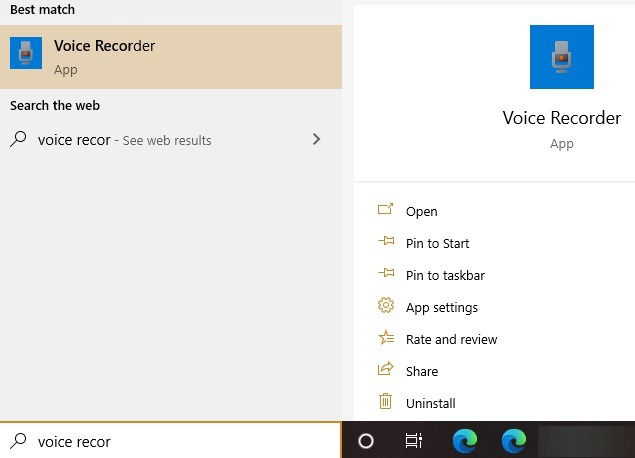
Windows 10 has a built-in voice recorder app which can be useful to test the response and sound quality of your external microphone. You can access it from the Start menu search.
 Voice Recorder Start Menu
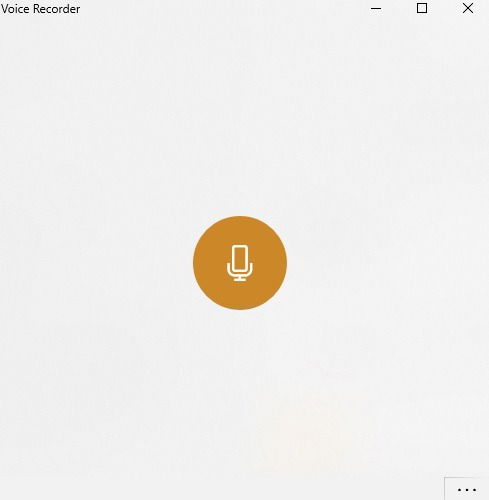
1. You will notice a bare bones window with no options. Click the icon.
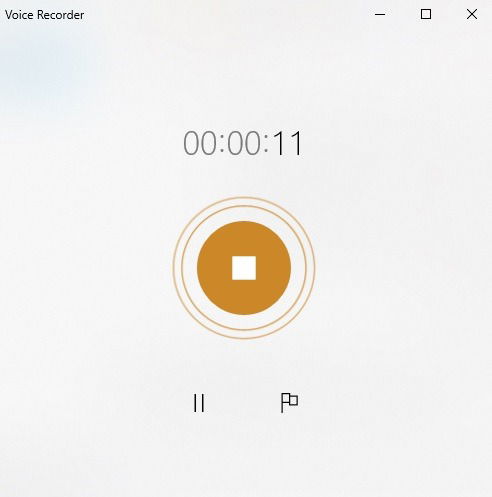
 Voice Recorder Speak
2. Speak a few sentences to work the voice recorder automatically. Click the “Stop recording” menu when you’re done.
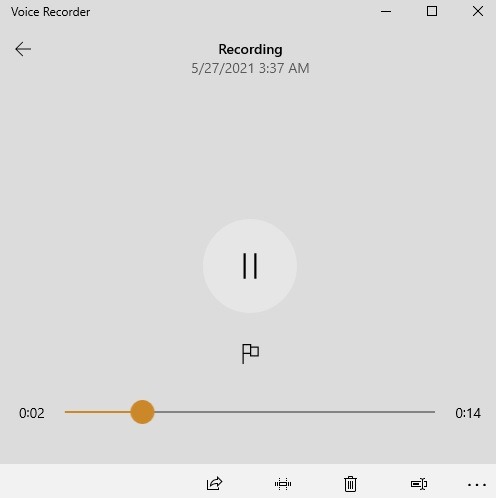
3. Next you can play the recording and listen to your voice.
 Access Recordings
4. If you can hear your own recording clearly, it means you have configured the microphone correctly.
Troubleshooting Tips
Sometimes you may find the microphone not working despite enabling it properly. This would happen if you have accidentally turned off access to the microphone on your device. Go to “Microphone Privacy Settings” from a Start menu search and make sure the access has been enabled. It will display the status “Microphone access for the device is on.” Also, allow the apps to access your microphone which would display the status as “on.”
 Allow Microphone Access on Device
You can easily see a list of apps which have enabled access for the microphone. You can also check this access while running the app itself. If you’re going to have a Skype or Zoom call, make sure they can access the microphone.
 Apps with Access Enabled
We hope these directions make it easy for you to install a new, high-quality microphone for all of your audio needs. For more troubleshooting tips on a microphone not working in Windows 10, check out our extensive guide. For another solution, find out how to use your smartphone as a microphone.

Sayak Boral –
Staff Writer
Sayak Boral is a technology writer with over eleven years of experience working in different industries including semiconductors, IoT, enterprise IT, telecommunications OSS/BSS, and network security. He has been writing for MakeTechEasier on a wide range of technical topics including Windows, Android, Internet, Hardware Guides, Browsers, Software Tools, and Product Reviews.
Subscribe to our newsletter!
Our latest tutorials delivered straight to your inbox
Sign up for all newsletters.
By signing up, you agree to our Privacy Policy and European users agree to the data transfer policy. We will not share your data and you can unsubscribe at any time. Subscribe