How to Illustrate a Children’s Book is just as important as crafting an engaging story. Even the most captivating plots need vibrant illustrations to truly bring them to life. Without eye-catching visuals, the magic of the story may not fully resonate with young readers.
By exploring different artistic styles and techniques, you can master how to illustrate a children’s book in a way that enhances the storytelling experience. One simple yet effective method is using watercolor illustrations, which add a soft, whimsical touch to each page.
If you’re wondering how to illustrate a children’s book, start by brainstorming ideas that complement the story’s tone and themes. Sketching character designs and experimenting with colors will help create a visual world that captivates young readers.
With creativity and practice, you can perfect how to illustrate a children’s book, ensuring that every page is filled with energy, warmth, and imagination, making the story truly unforgettable.
Part1 Sketching Basic Images
How to Illustrate a Children’s Book
Illustrating a children’s book requires creativity, planning, and attention to detail to make the story visually engaging. Follow these essential steps to create compelling and effective illustrations.
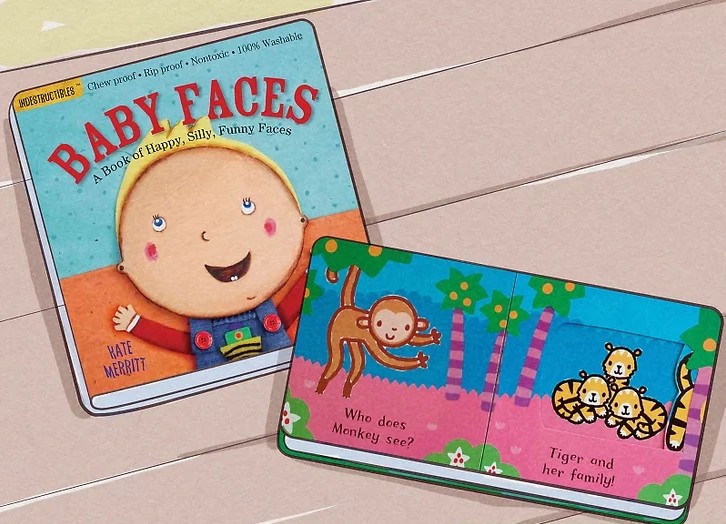
1. Tailor Images Based on Reading Level
The complexity of illustrations should match the target age group. For younger children, each major plot movement should be depicted clearly and simply, making it easy to follow. Older readers, who rely more on text, may only need illustrations that highlight key themes or major moments in a chapter.
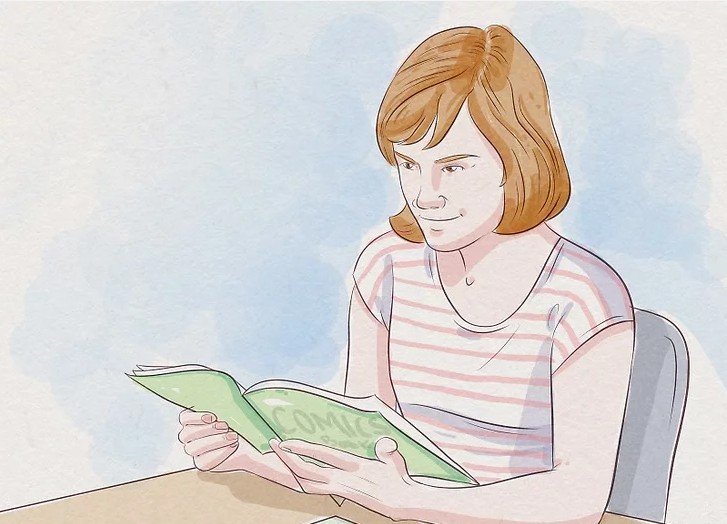
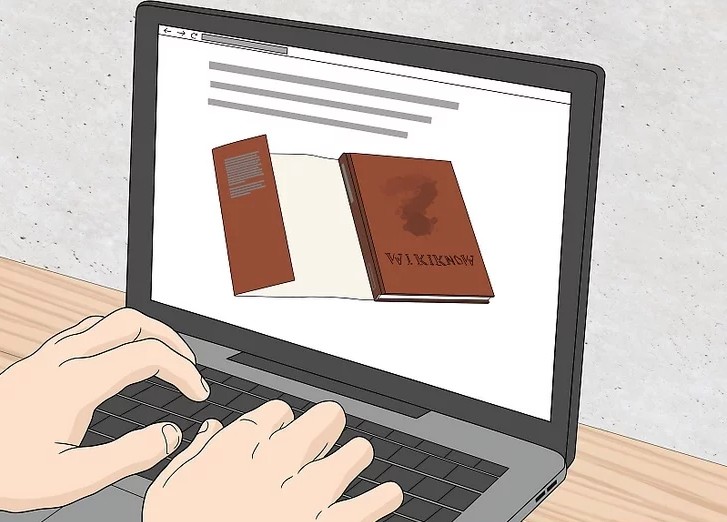
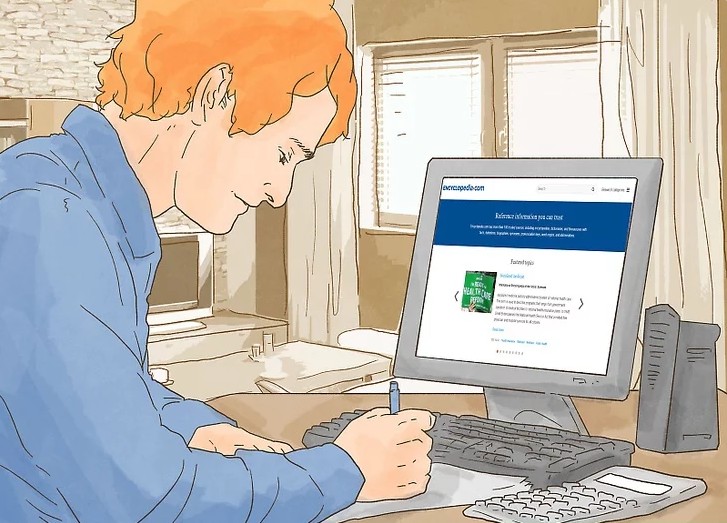
2. Gain Inspiration from Other Artists
Looking at successful children’s book illustrations can provide valuable inspiration. Art from various sources—such as paintings, textiles, and films—can also influence the overall aesthetic of your book. If your story is whimsical, studying the works of Dr. Seuss may help. If it’s a historical tale, researching relevant art styles from that era can add authenticity.
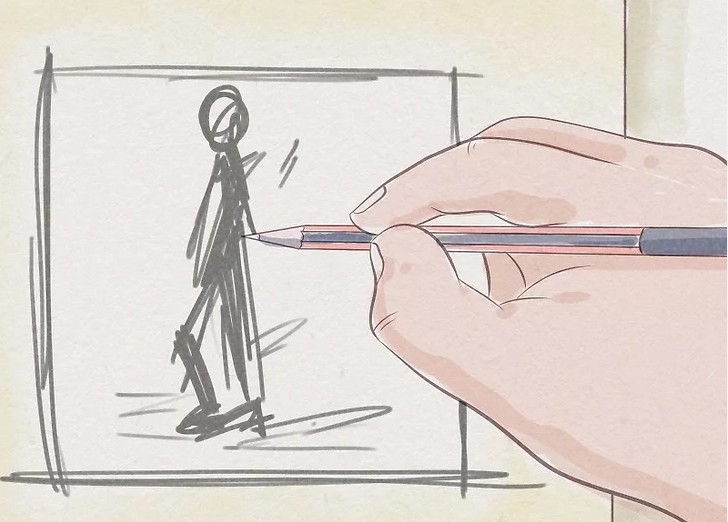
3. Draw Thumbnail Sketches
Thumbnail sketches are small, rough drafts—about a square inch or two in size—that help map out the visual flow of the book. These quick sketches focus on scene composition, focal points, and layout, making it easier to refine ideas before committing to detailed drawings.
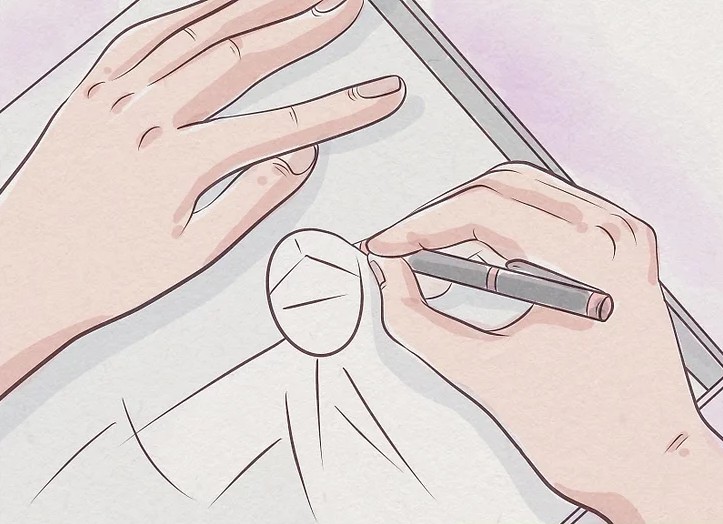
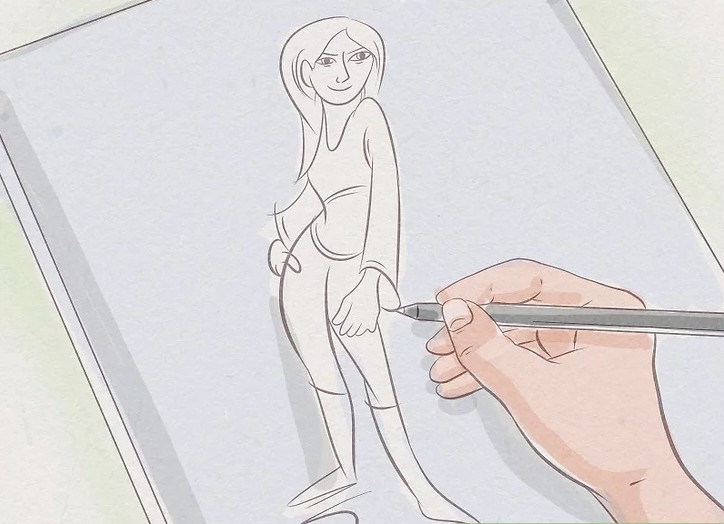
4. Develop Study Sketches
Study sketches focus on character development, exploring different expressions, poses, and moods. If a character undergoes an emotional transformation throughout the book, drawing them in various states will ensure consistency. Practicing different poses will also improve movement and natural flow in the illustrations.
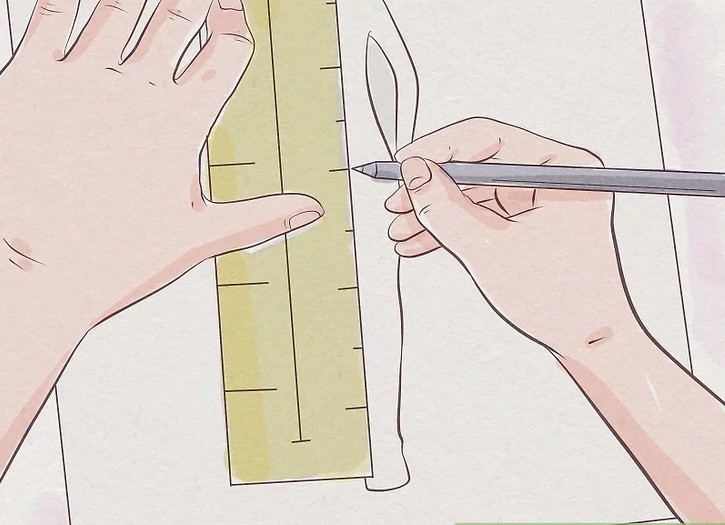
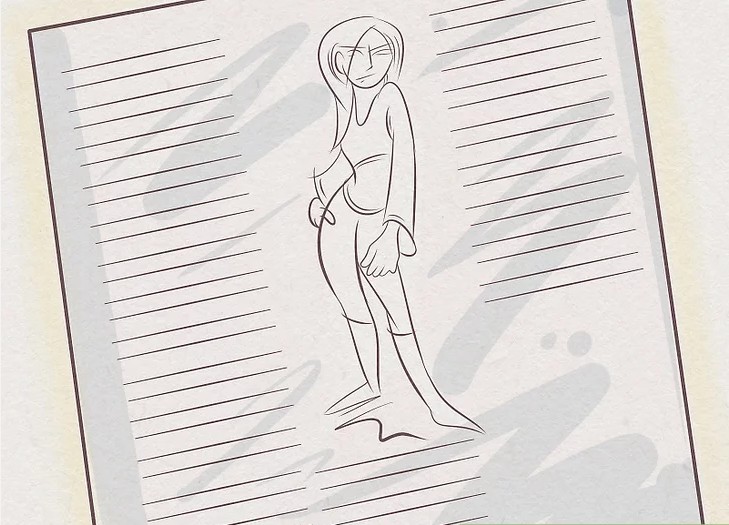
5. Create a Sketching Template
Since illustrations must fit within the book’s pages, it’s important to work within the correct dimensions. Use a ruler to draw a precise grid to match your sketches with the final book layout. If an illustration spans two pages, be mindful of the spine area to prevent key elements from being lost in the fold. Also, leave enough space for the text.
6. Integrate Illustrations with the Text
Illustrations should complement and enhance the story. Capture key details from the text and use subtle visual cues to foreshadow future events. Proper alignment of text and imagery ensures a seamless storytelling experience.
7. Ensure Consistency
Characters’ appearances, clothing, and colors should remain consistent throughout the book. If characters look too different from page to page, young readers may struggle to recognize them, making the story harder to follow.
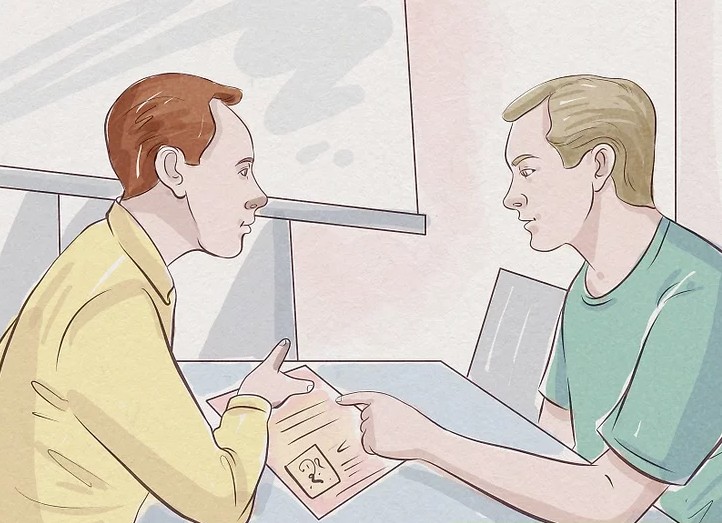
8. Share Sketches for Feedback
If you’re working with an author or client, share your sketches before moving forward. At this stage, revisions are easier to make, ensuring that the author approves the direction before you start finalizing the illustrations.
9. Prepare Final Sketches
Using your study sketches as references, create detailed final sketches in the correct size. Add textures, backgrounds, and extra details to enhance the illustrations. To maintain accuracy, enlarge your sketches using a measured grid system, carefully transferring smaller sketches onto a larger final template.
By following these steps, you can create visually stunning illustrations that bring a children’s book to life, making the reading experience even more magical for young audiences.
Part2 Painting and Finishing Your Image
How to Illustrate a Children’s Book with Watercolors
Creating watercolor illustrations for a children’s book requires careful planning and technique. Follow these steps to bring your sketches to life with vibrant, expressive artwork.

1. Transfer Your Sketches to Watercolor Paper
Before painting, transfer your sketches onto watercolor paper. If your printer supports it, you can directly photocopy your sketches onto the paper.
If your printer cannot handle heavy watercolor paper, use a traditional charcoal transfer method:
- Rub the back of your sketching paper with charcoal.
- Place it charcoal-side down onto the watercolor paper.
- Retrace the original sketch, leaving a clear carbon copy on the watercolor paper.
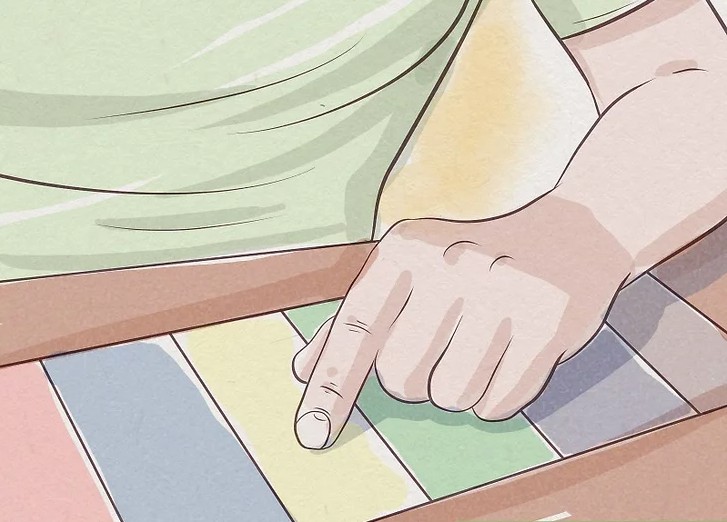
2. Determine Your Colors
Before painting, create a small thumbnail study to test different color palettes. Colors play a crucial role in setting the mood of a children’s book:
- Bright, vibrant colors convey happiness and excitement.
- Darker shades like amber or deep blues can evoke a more serious or emotional atmosphere.
Consult with the author or creative team to ensure the color scheme aligns with the story’s tone.
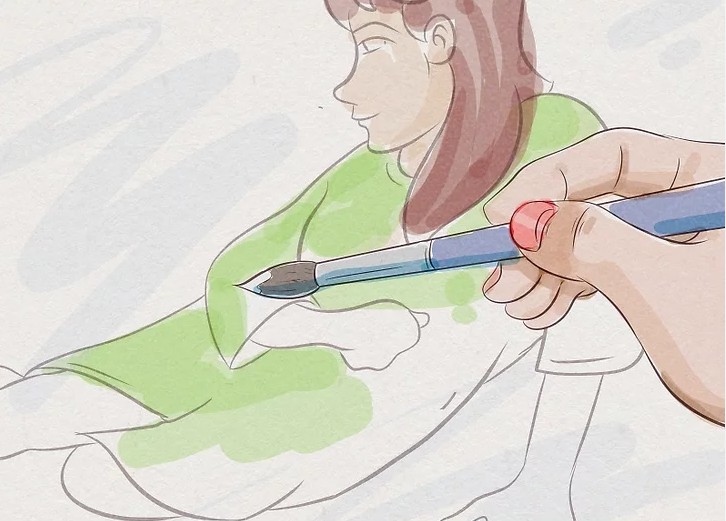
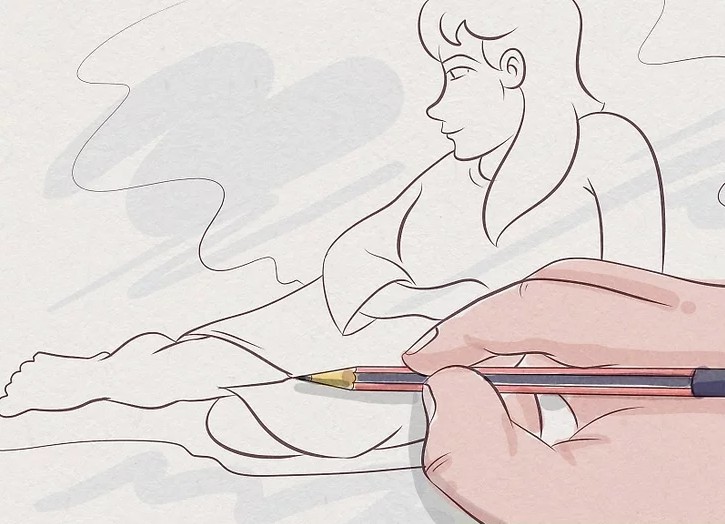
3. Paint with a Watercolor Brush
If you are new to watercolor painting, practice on extra copies before working on the final illustration. Watercolors require a light touch, so:
- Use soft brush strokes to build up layers gradually.
- Experiment with blending techniques to create smooth transitions.
- Allow each layer to dry before adding new colors to avoid unwanted mixing.

4. Define Your Lines with a Pen
For added contrast and definition, consider outlining some or all elements with waterproof ink.
- For a bold, comic-style look, ink your outlines before painting, then fill in the colors.
- For a softer, whimsical style, minimize outlines or omit them entirely.
Remember, inking is optional! The choice depends on the desired artistic effect.
By following these steps, you can create stunning watercolor illustrations that bring your children’s book to life, making it visually captivating for young readers.