How to Fix Wavy Book Pages with Water & Heat: If you’ve accidentally gotten your favorite book wet or left it in a humid place, you don’t have to rush out to buy a new one. Instead, you can fix the wavy, folded patterns on the pages by carefully drying them out and using a combination of water and heat. With a little patience, your book can be restored to its readable state.
First, let the book dry completely to avoid mold or further damage. Once dry, you can proceed to fix wavy book pages with water & heat by lightly misting the pages with water and applying gentle heat. A hairdryer on a low setting or an iron with a cloth barrier works well for this purpose.
As you dry, you will see the wavy book pages with water & heat slowly flatten out. Keep the heat on low to prevent burning the paper or causing further warping.
Finally, once the pages are dry and flat, your book will be good as new! Learning how to fix wavy book pages with water & heat can save you money and preserve the cherished books in your collection.
How do you flatten a warped book?
To flatten a warped book, start by placing it in the freezer for a few days. This helps to preserve the pages and prevent further warping. After freezing, take the book out and open it up on its side to dry. Position a fan in front of the pages to speed up the drying process, leaving it overnight to ensure the pages are fully restored.
Method1 Drying Wet Pages
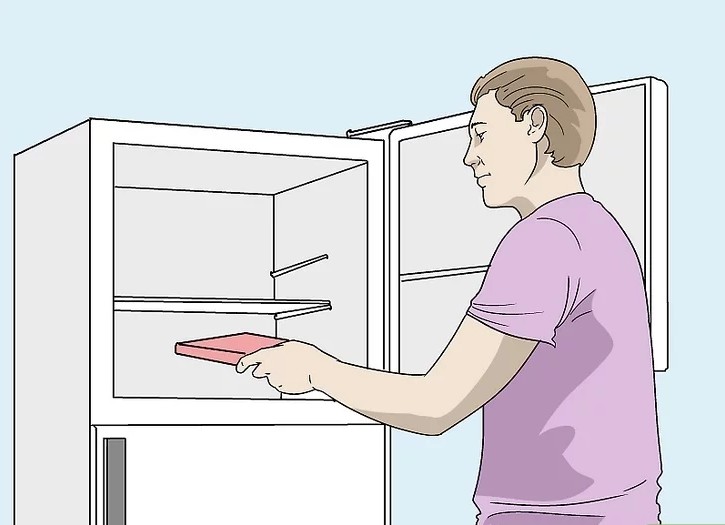
Step 1: Freeze the Book If You Can’t Repair It Right Away
If you don’t have time to fix the warped book immediately, place it in a plastic bag and put it in the freezer for a few days. This prevents mold growth and further damage to the pages. Ensure the plastic bag is airtight to avoid any extra moisture from the freezer affecting the book.
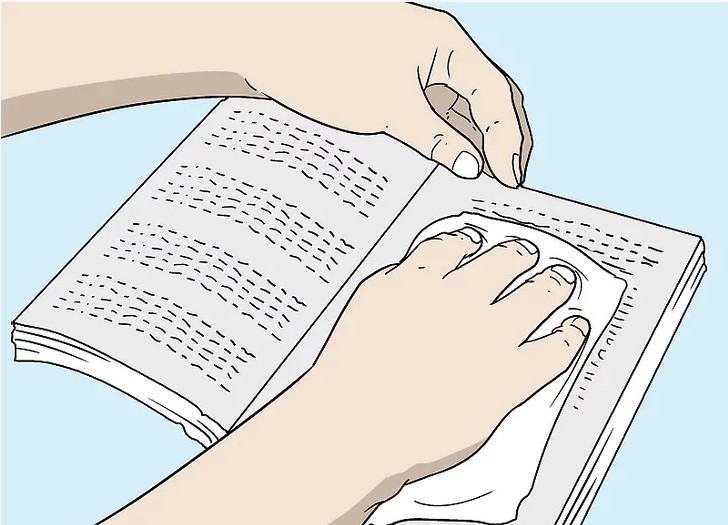
Step 2: Blot the Pages with Paper Towels
Before starting the drying process, insert paper towels between the book’s pages every 10 to 20 pages. Gently press the book to absorb any remaining moisture. This step helps prevent the pages from sticking together during the drying process. If mold is present, use a clean cloth to carefully remove the mold spores, and then set the book in the sun for additional drying.
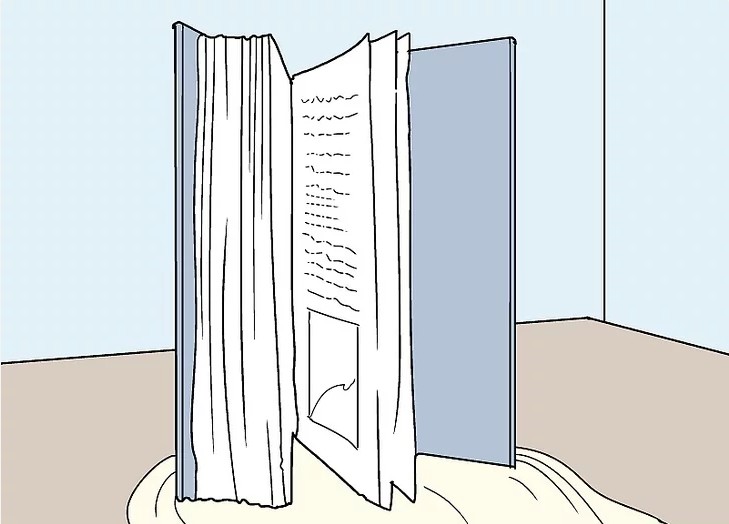
Step 3: Open the Book and Stand It on Its Side
Carefully open your book to a 45-degree angle and stand it on a towel with its pages fanned out. Be gentle, as water-damaged books are fragile and may fall apart easily. Make sure the pages stay separated to ensure proper drying.
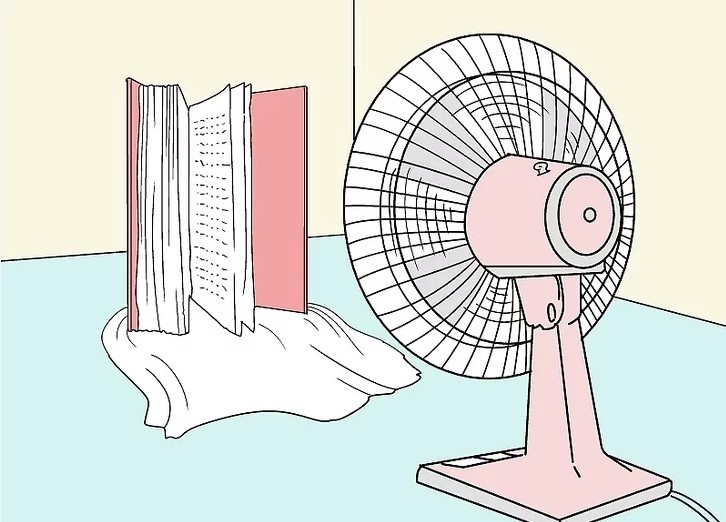
Step 4: Use a Fan to Dry the Book Overnight
Place a fan on a low setting in front of your book to help dry the pages overnight. Leave the fan running for 8 to 12 hours to ensure the book dries completely. A dehumidifier can also be used to enhance the drying process.
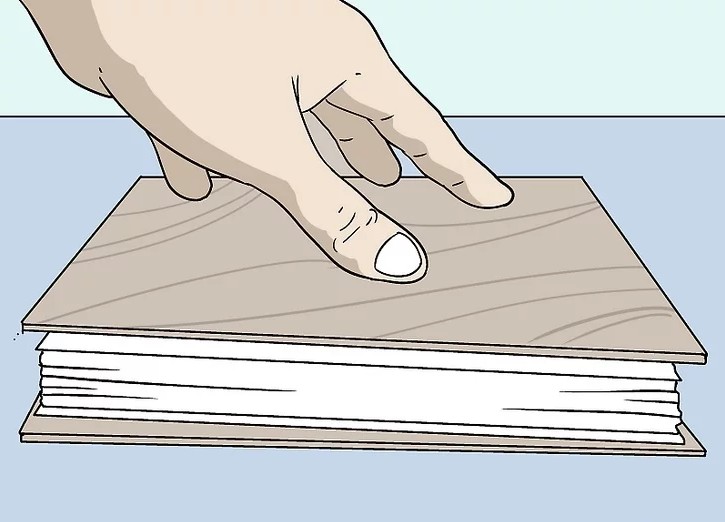
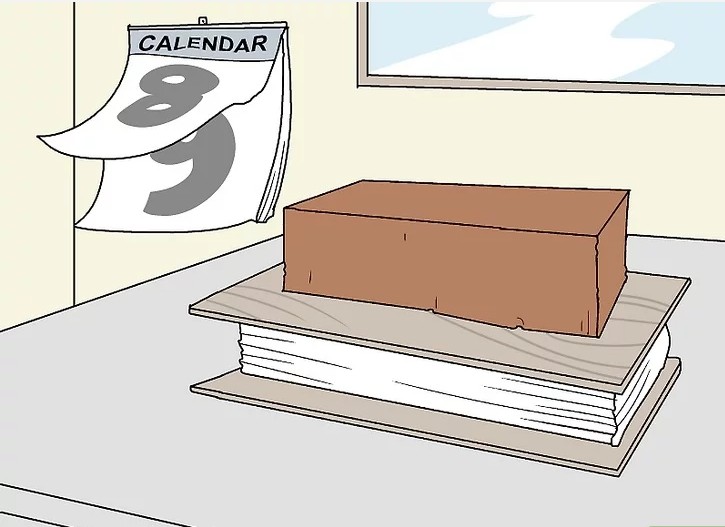
Step 5: Sandwich the Book Between Two Boards
Place the book flat on its side with one board underneath and another board on top. Use any scrap wood you have, ensuring it covers the entire book. Plywood works well due to its thinness, but any flat surface will work.
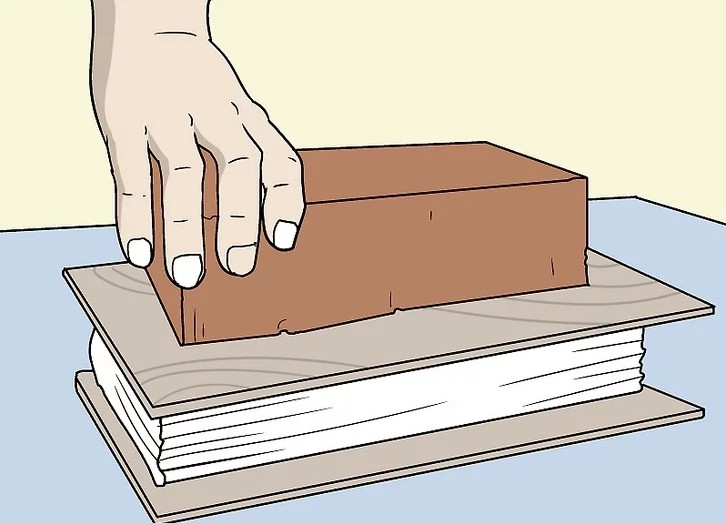
Step 6: Add Weight to the Top Board
Place heavy objects like bricks or cinder blocks on top of the top board to apply even pressure on the book. This will help flatten the pages. If you have a book press, this would be the perfect time to use it instead of heavy objects.
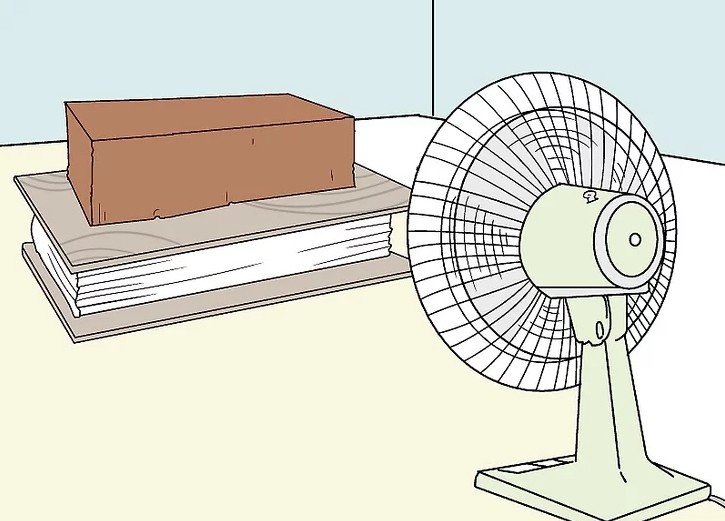
Step 7: Use a Fan or Dehumidifier to Dry the Book Further
While the book is being pressed, position a fan or dehumidifier nearby to further dry out the book. Ensure the room is cool and dry by closing windows and turning off any humidifiers. Avoid direct sunlight to prevent excessive heat, which can damage the pages.
Step 8: Leave the Book Pressed for 1 to 2 Days
Allow your book to remain under pressure for 1 to 2 days. Don’t disturb the book during this time. The longer it stays pressed, the better the chances of the pages flattening out completely. If the pages are still wavy, extend the pressing time.
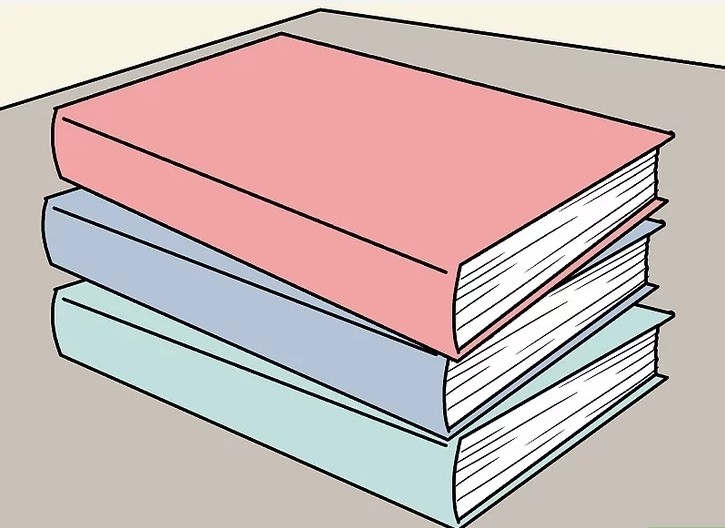
Step 9: Store the Book in a Pressed State
When storing the book, keep it pressed flat between two bookends or several other books. This will help maintain the flattened shape of the pages and prevent them from warping again.
Method2 Flattening Pages with Heat
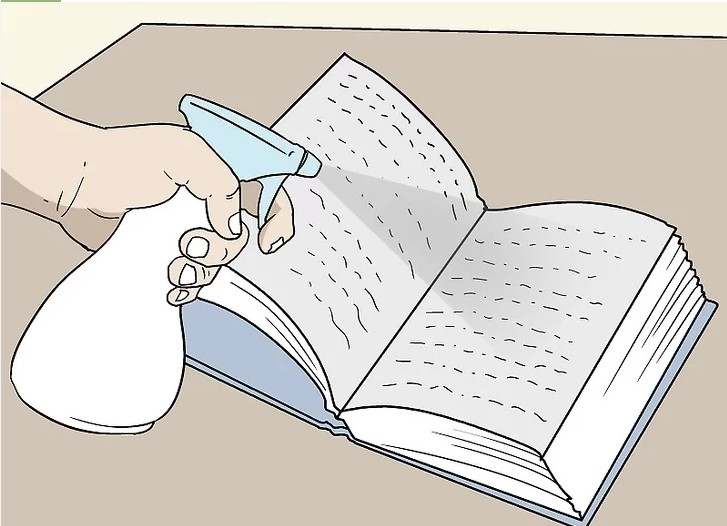
Step 1: Lightly Mist the Pages with Water
To rehydrate your book, spray a fine mist of water over the pages. If the book has been dry for a while, use a water bottle to dampen it slightly. Make sure every page is damp, but avoid soaking the book. If you don’t have a spray bottle, you can use a clean paintbrush to dab water onto the pages instead.
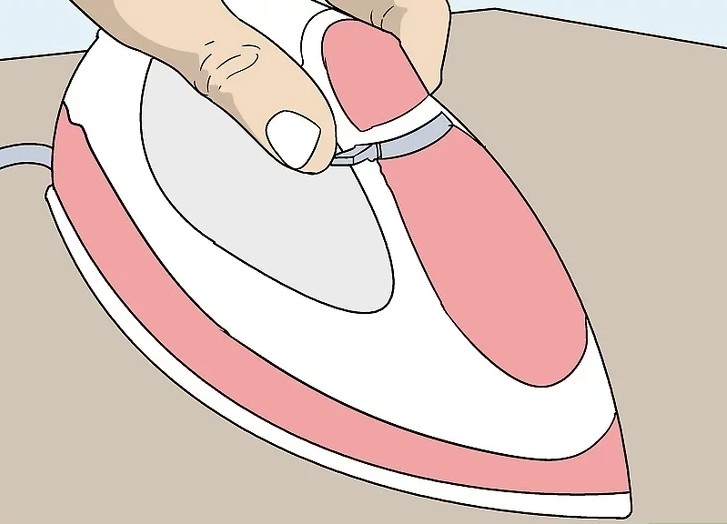
Step 2: Set the Iron to the “No Steam” Setting
Set your iron to the “no steam” setting to prevent adding more moisture to the book. Allow the iron to heat up for about 5 minutes before use. If you have an ironing board, set it up. Otherwise, you can use a flat surface like a table or countertop.
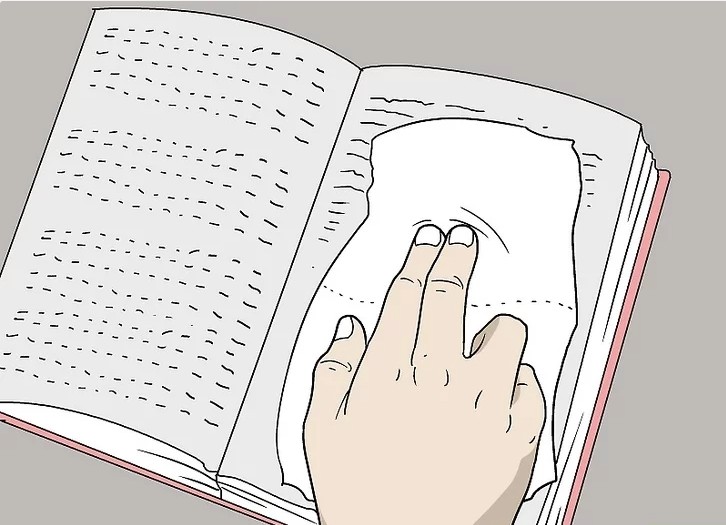
Step 3: Place Tissue Over One Page
Place a tissue or a sheet of plain white paper over the first page of your book. This layer protects the book from heat damage. Never place the iron directly on the book pages, as this could cause burning.
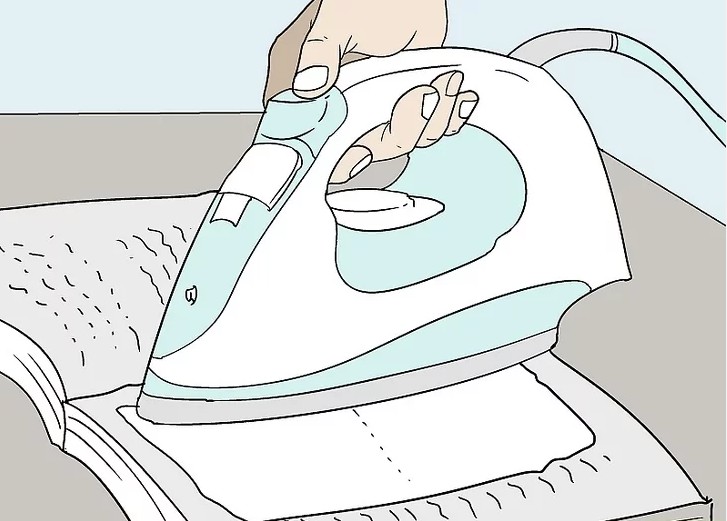
Step 4: Quickly Swipe the Iron Over the Tissue
Gently press the iron onto the tissue and move it in a circular motion. Leave the iron on the tissue for about 3 seconds, then quickly lift it off. Be careful not to leave the iron on the book for too long, as prolonged heat can burn the pages.

Step 5: Iron Each Page Individually
To flatten each page effectively, iron them one by one. Although this process may take time, it’s the best way to ensure that each page is flattened properly. The iron may not be hot enough to flatten two pages at once, so take your time and work through them individually.