If you’re wondering how to draw your own family tree, this project is a wonderful way to explore your ancestry and create a beautiful visual representation of your lineage. Whether you’re tracing your roots or simply want to teach your children about their heritage, drawing your family tree is a rewarding activity. In this guide, we’ll walk you through how to draw your own family tree step-by-step, from researching your relatives to placing each one on the tree. With our tips and tricks, you’ll be able to create a stunning, detailed family tree that you’ll cherish for years to come. So, if you’ve ever asked yourself how to draw your own family tree, this guide is for you! Let’s get started and uncover the story of your ancestors together!
Things to Keep in Mind: Begin by researching your family history—talk to relatives or use online databases to gather information on who should be included in your family tree. Start by lightly sketching the outline of your tree with a pencil, beginning at the base and working your way upward and outward as you add branches. Place each family member’s name on the appropriate branch, with the older generations at the bottom and the younger ones positioned higher up on the tree.
Part1 Researching Your Family History

1. Research Your Family History
Before you begin designing your family tree, it’s essential to know who will be included. Start by talking to relatives—parents, grandparents, aunts, uncles, and cousins. Gather as much information as you can about your ancestors and their connections to you. Use online genealogy databases like Familysearch.org to dig deeper into your family’s history.
Ask family members about their siblings, children, parents, and any other relatives they may know of. Collect key details such as names, birthdates, death dates, and any other facts you’re curious about.
Be sure to speak with multiple family members to cross-check stories and ensure accuracy. If there are discrepancies, ask more specific questions or consult other relatives for clarification.
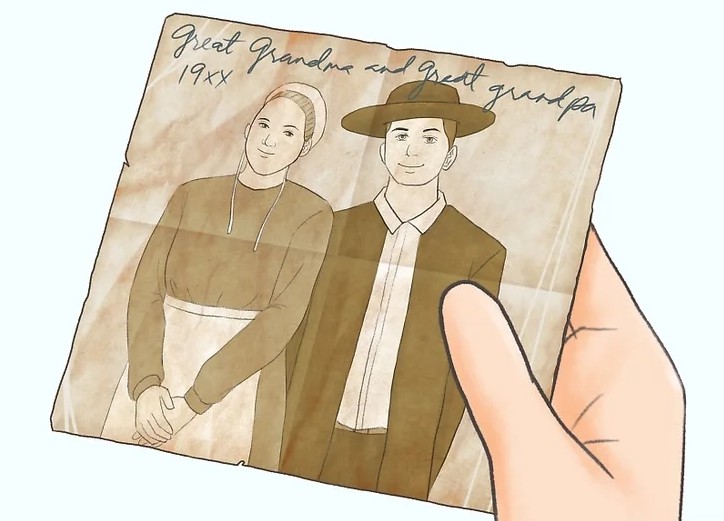
For a more detailed tree, consider gathering additional information like birthplaces, photos, or other personal details that may add depth to your family’s story.
2. Decide How Far Back to Go
When creating your family tree, determine how many generations you want to include. If your family is large, focusing on a few generations, such as your grandparents and their siblings, might be a manageable option. If your family is smaller, you could trace your lineage back to great-grandparents or even great-great-grandparents, if that information is available.
Consider the space on your tree and the level of detail you’d like to include. If you want to expand, you can always add more paper to accommodate additional branches.
Make a list of all the family members you plan to include to get a sense of how much space your tree will require. The more research you’re willing to do, the more detailed and expansive your tree can become.
Part2 Planning Your Drawing

1. Choose Your Paper and Drawing Materials
Select the right materials to showcase your family history in a beautiful and eye-catching way. Pick a large, sturdy sheet of paper that can accommodate all the information, such as watercolor paper or poster board. For an added touch of color and detail, consider using markers, colored pencils, or watercolor pencils to bring your tree to life. These tools will allow you to add depth and vibrancy to your family tree, making it both informative and visually appealing.

2. Decide Between an Artistic Tree or a Standard Genogram
Next, you’ll need to decide on the style of your family tree. One option is to create a more artistic, organic tree design, where each family member is placed on a branch, mimicking the shape of a real tree. Alternatively, you can choose a standard genogram, which focuses on clear shapes and lines to represent family members and their relationships. In a genogram, you won’t typically overlay the family structure onto an actual tree drawing—it’s more of a diagrammatic approach.
Choose the style that best fits your vision for the project, whether you’re looking for something more creative and whimsical or a straightforward and structured representation.
Part3 Drawing the Tree

1. Sketch the Tree Lightly in Pencil
Start by sketching the tree lightly with a pencil to envision the layout and determine how much space you’ll need for names and connections. Starting with pencil gives you the flexibility to make adjustments or erase mistakes as you go. Begin at the base of the tree and work your way upward along the trunk, then outward toward the individual branches. Each branch will represent a different family member.
For family trees, place parents at the junction where the branches split, and extend their children’s names from there. Refer to your list of family members to ensure you accurately represent the relationships and include everyone.

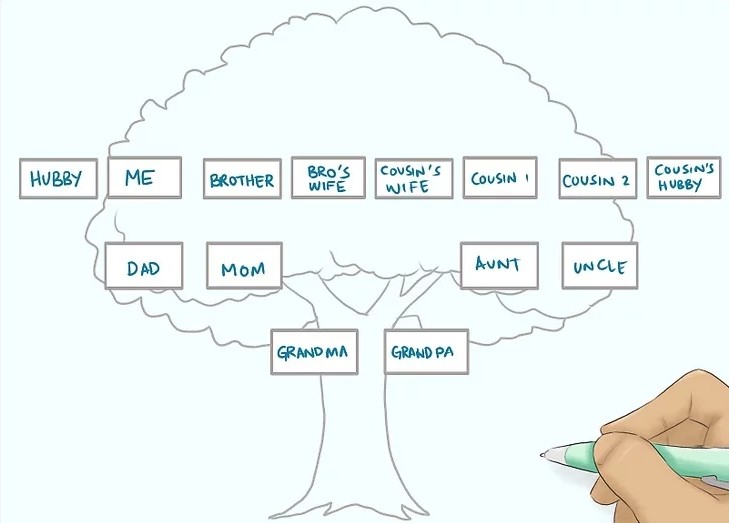
2. Write Your Name on Your Branch
As the centerpiece of the tree, start with your name. Position yourself near the center or bottom of the page. Older generations will go below you, and younger generations will be placed above you, so be sure to leave enough space for your relatives. This structure will help keep your tree organized and easy to follow.

3. Add Your Parents and Siblings
Now, begin adding your immediate family members. Place your parents’ names directly above yours. Write your siblings’ names in alignment with yours, extending from your parents’ names. If you or your siblings are married or have children, be sure to include their names as well. Spouses’ names are written beside their partner’s, and children’s names are placed directly below their parents.
Draw lines to visually connect family members, making relationships clearer. If you have step-parents or step-siblings, include them too, and be consistent in listing siblings—perhaps starting from the oldest to youngest.
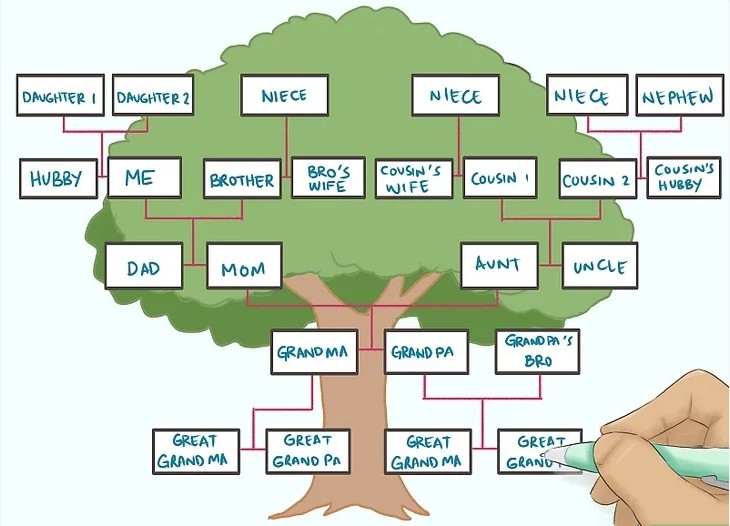
4. Write in Your Aunts, Uncles, Cousins, and Grandparents
This is where your family tree begins to grow more expansive. From your father’s name, extend branches to include his siblings (your aunts and uncles), their spouses, and children (your first cousins). Similarly, extend branches from your paternal grandparents and include their children. Repeat this process for your mother’s side of the tree.
By this step, your tree will begin to reflect your extended family, capturing multiple generations.

5. Include More Generations
To continue expanding your family tree, start adding further generations. You can include great-aunts and uncles, great-grandparents, and even older generations, depending on how far you wish to trace your lineage. The oldest generation you want to include will be placed at the roots of the tree.
The more generations you add, the more intricate and rich your family history will appear.
6. Enhance the Tree with More Detail
Once you’ve completed the main structure of your tree, it’s time to add details to make it visually striking. Retrace the tree in black or colored ink to make the names and branches stand out. Then, you can add extra touches to bring your family tree to life, such as:
- Gender representation: Use different shapes for males (rectangles), females (ovals), and unknown gender (diamonds).
- Divorce: Represent divorced couples with a dashed line connecting them.
- Important dates: Add birth dates and, when applicable, death dates.
- Biographical details: Include other facts, such as place of birth, maiden names, or middle names.
These details will not only make your tree more personal but also provide a richer, more informative family history.