How to Do the Cup Game has become a widely popular rhythmic activity, thanks in part to Anna Kendrick’s performance in Pitch Perfect. While rhythmic games involving clapping and tapping objects on a hard surface have been around for many years, the cup game has gained renewed attention and is now a favorite pastime for many. Whether you want to play with friends during recess, at lunch, or simply enjoy a fun way to practice rhythm, learning how to do the cup game takes just a few minutes.
To get started, you’ll need a sturdy cup and a flat surface. The game involves a specific pattern of claps, taps, and cup movements that create a rhythmic beat. With a bit of practice, you’ll quickly master how to do the cup game and impress your friends with your skills. The best part is that you can even experiment with different speeds or add variations to make it more exciting.
By following a simple step-by-step approach, you’ll soon feel confident in how to do the cup game and be able to perform it effortlessly. So grab a cup, find a steady surface, and start practicing today!
Part1 Setting up the Cup Game
1. Choose the Right Cup
Before you start playing How to Do the Cup Game, it’s important to select a sturdy cup. A plastic cup is a great option because it creates a nice sound when tapped and clapped against the table. However, make sure the plastic is strong enough to withstand the game—some flimsy cups might crack or break over time.
If using a plastic cup, test its durability by gently pressing on it. If it feels brittle or weak, consider choosing a different one. While glass or ceramic cups can produce a bright, pleasant sound, they also pose a risk of breaking, which could lead to injury. If you prefer to use one of these materials, ensure it is thick and sturdy.
For more details on how different materials affect sound, check out this cup game tutorial.
2. Clear Your Surface
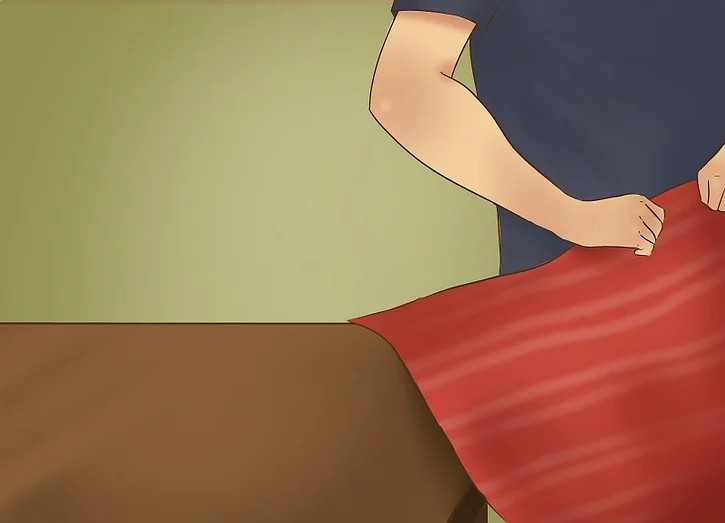
You’ll be clapping, tapping, and sliding the cup across your playing surface, so make sure the area is free of obstacles. Move aside any items like drinks, food, or delicate objects to prevent accidental spills or breakage.
If you’re playing on a table with a cloth, keep in mind that it might make sliding the cup more difficult. Depending on the weight and texture of the fabric, you may need to remove it to ensure smooth gameplay. Also, check that your surface is stable—a flimsy or wobbly table may not hold up well to the energetic movements involved in How to Do the Cup Game.
3. Position Your Cup
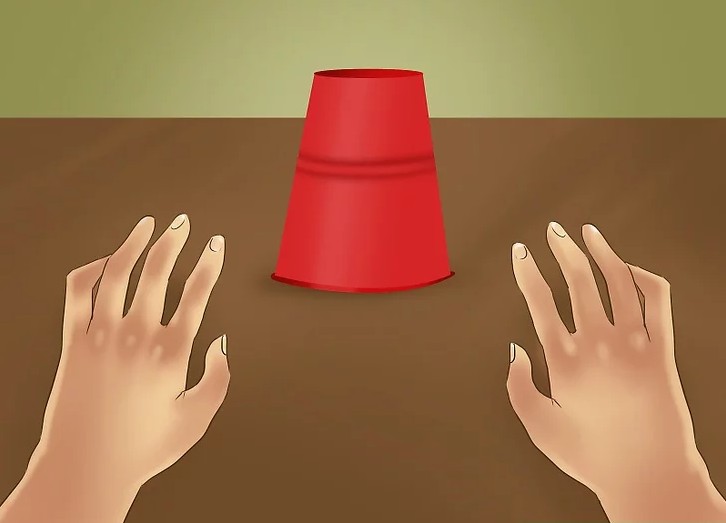
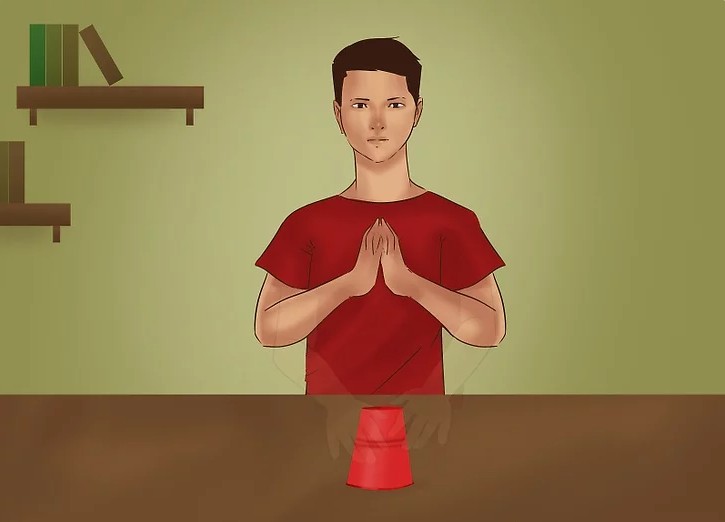
To begin, place your cup directly in front of you on the table. Your hands should be positioned on either side, ready to clap and move the cup during the game. This starting position ensures that you’re set up for success as you follow the rhythmic sequence.
For additional guidance on hand placement and movements, visit this step-by-step cup game guide.
4. Add Music for Rhythm
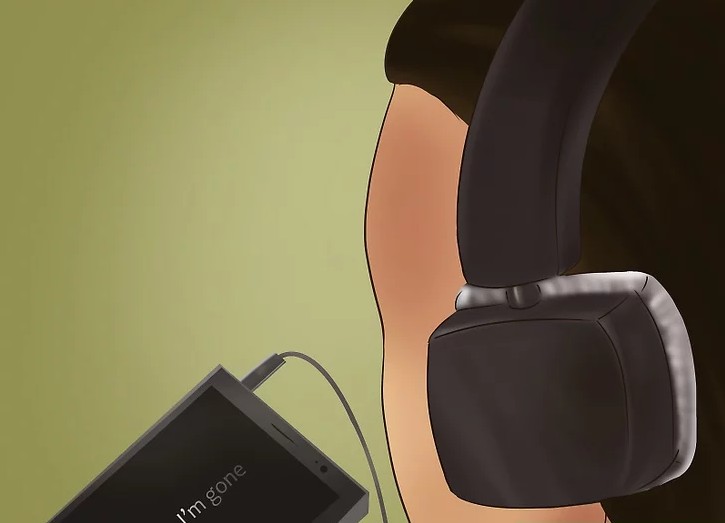
While playing How to Do the Cup Game, you can enhance the experience by singing or listening to a song. “When I’m Gone,” famously performed by Anna Kendrick in Pitch Perfect, is a popular choice because its rhythm aligns perfectly with the cup game’s pattern. However, you can experiment with other songs that have a similar beat.
For a unique twist, try “Screen Door” by Rich Mullins, which is credited as the origin of the cup song. Playing along with music can help you stay in sync, especially if you’re performing with friends.
By following these steps, you’ll quickly master How to Do the Cup Game and be ready to impress with your rhythmic skills!
Part2 Playing the Cup Game
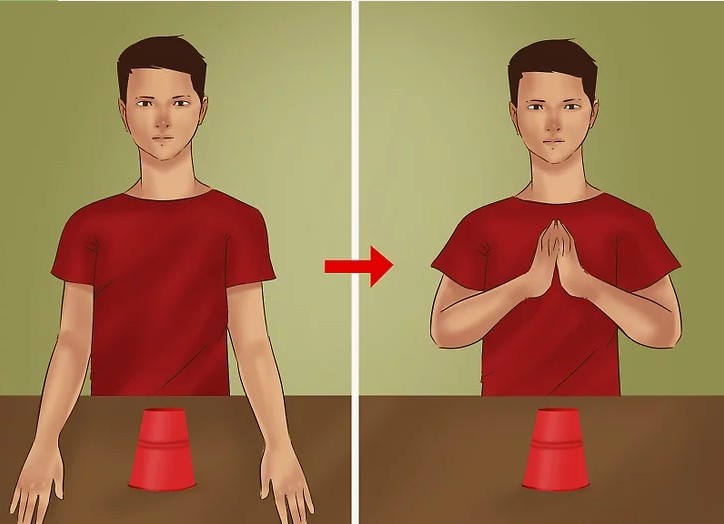
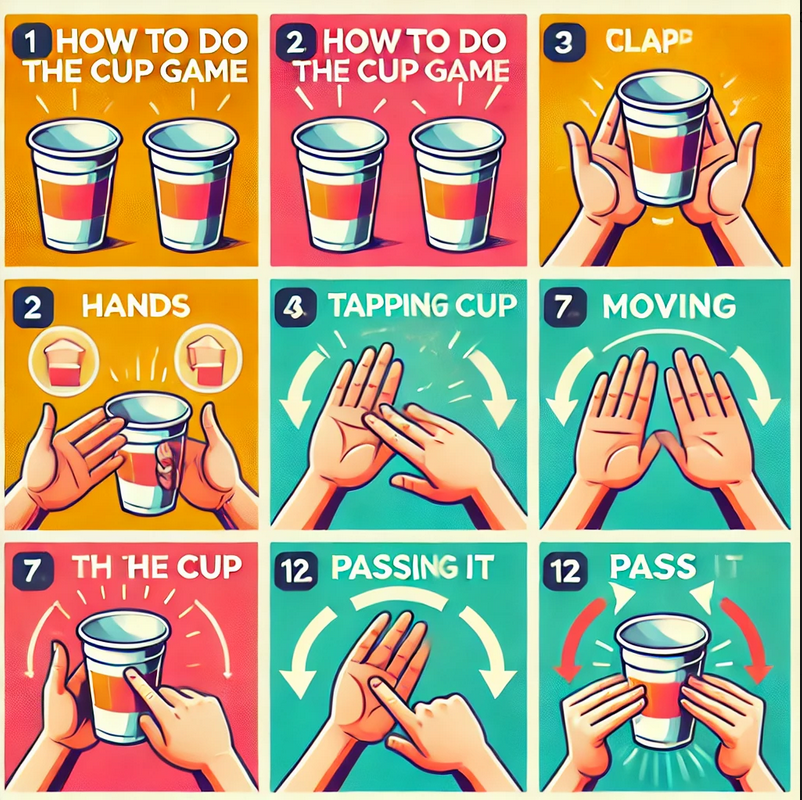
1. Clap Your Hands Twice
To start playing How to Do the Cup Game, place your hands on either side of the cup, which should be in front of you on a stable surface. Clap twice above the cup to establish the rhythm.
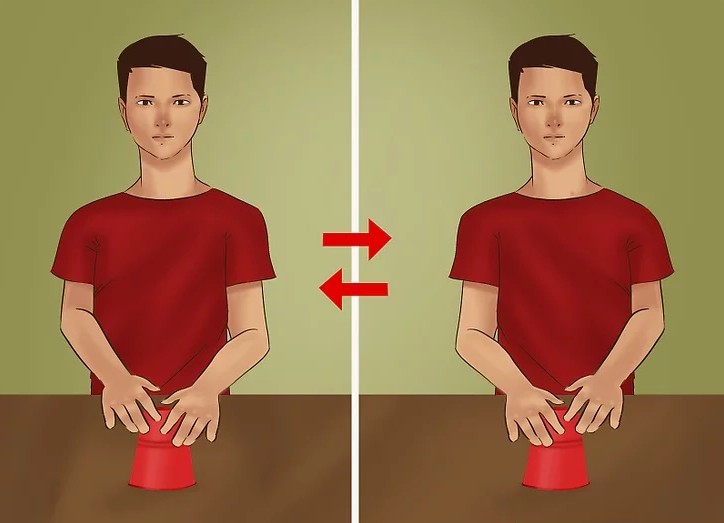
2. Tap the Cup Three Times
After clapping, tap the top of the cup three times in a steady pattern—right hand, left hand, right hand. This creates a rhythmic beat that contrasts with the claps.
- Left-handed players can tap in a left-right-left sequence.
- Experiment with tapping speed to add variation to the rhythm.
3. Clap Once More
Once you’ve finished the tapping sequence, clap your hands once more over the cup to stay in rhythm. If you’re playing with music, time your clap to match the beat.
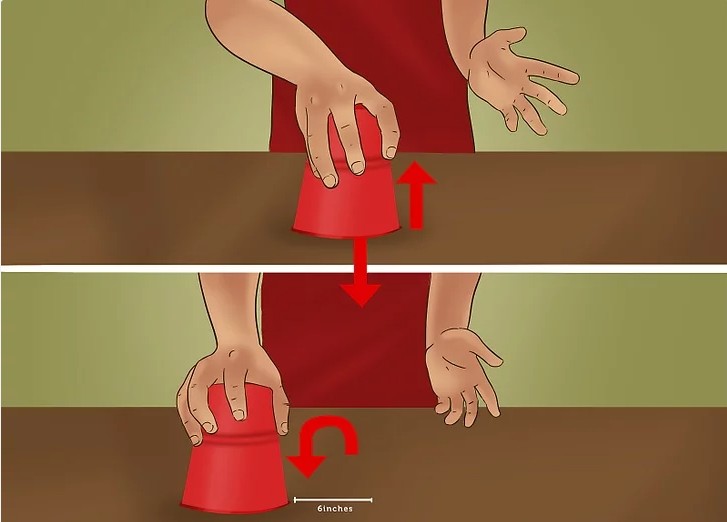
4. Tap the Cup to the Table
Pick up the cup with your right hand and place it firmly on the table about 6 inches (15 cm) to the right of its original position.
- Left-handed players should move the cup to the left.
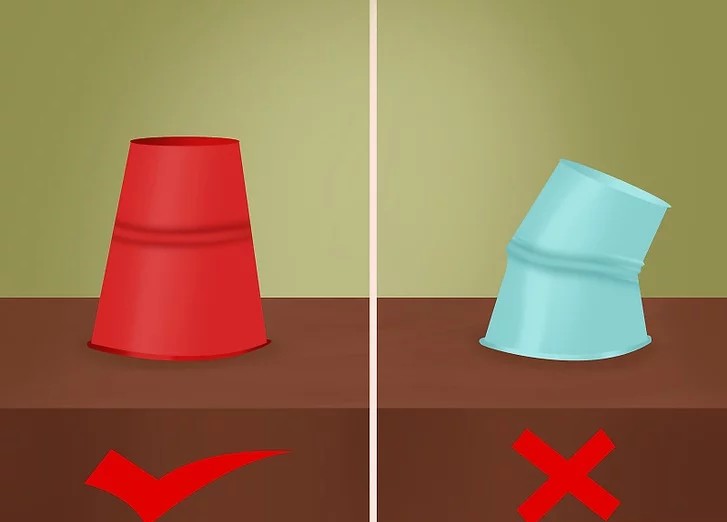
- Keep the cup upside down while tapping it on the table.
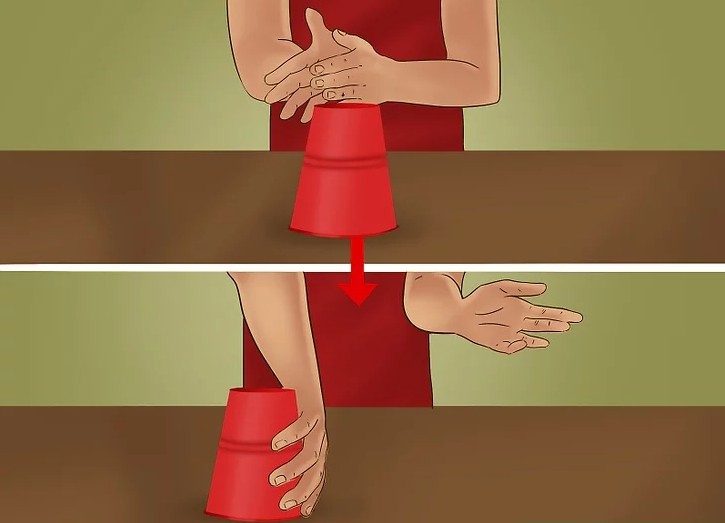
5. Clap Your Hands and Pick Up the Cup Again
Clap your hands once, then grab the cup with your right hand. Your fingers should be inside the cup, with your thumb pointing toward the table.
- Left-handers should pick up the cup with their left hand.

6. Clap the Mouth of the Cup and Knock Its Bottom to the Table
Hold the cup in your right hand and clap the open end of the cup against your left palm. Then, lightly knock the bottom of the cup against the table.
- Left-handers should reverse this motion, clapping the cup to their right palm.
- Keep holding the cup—don’t let go!
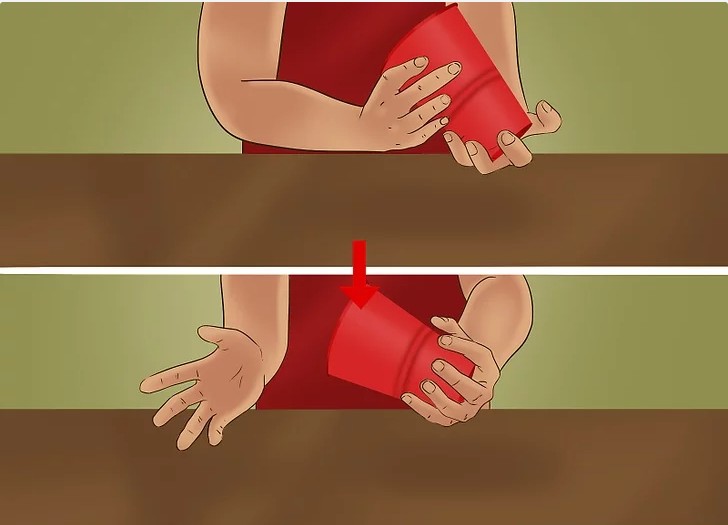
7. Clap the Bottom of the Cup and Switch Hands
Lift the cup with your right hand and clap its bottom against your left palm. Then, transfer the cup to your left hand and release it from your right.
- Left-handers should do the opposite, clapping the bottom of the cup with their right hand before switching hands.
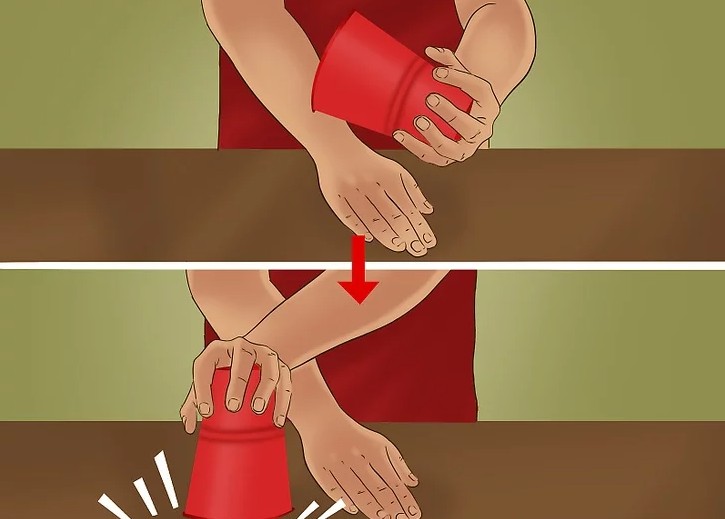
8. Slap the Table and Return the Cup
With your free right hand, slap the table slightly to the left of where your cup was originally placed. Then, use your left hand to place the cup back on the table slightly to the right.
- Left-handers should mirror this motion.
- After this step, your arms should be crossed in front of you, with the cup still in hand.
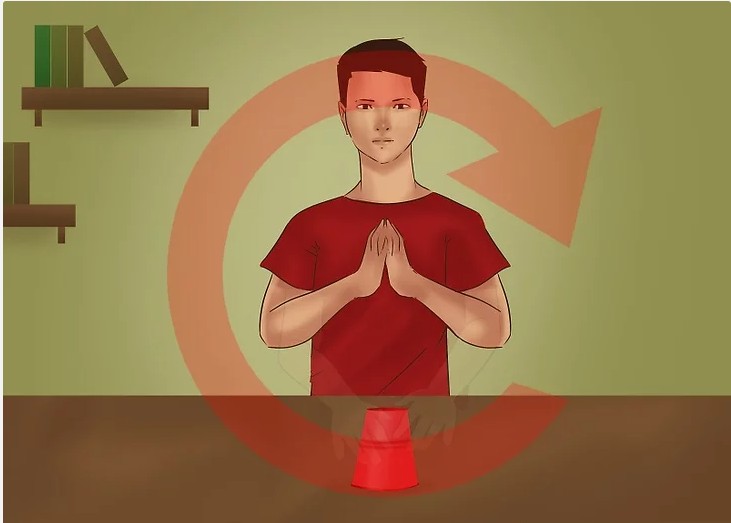
9. Repeat and Pass the Cup for Group Play
To continue playing How to Do the Cup Game, return your hands to either side of the cup and repeat the sequence. If playing in a group, pass your cup to the player on your right after each round. As the game progresses, speed up the rhythm. Any player who fumbles or drops the cup is eliminated, continuing until only one winner remains.
With practice, you’ll be able to play How to Do the Cup Game fluently and even challenge yourself with faster rhythms or group competitions!