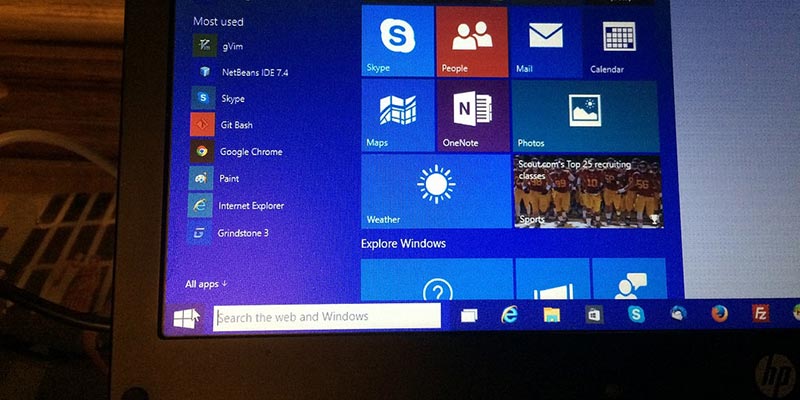
When using the Windows 10 Start menu, you might’ve seen the most used apps section where Windows lists all the apps that you use frequently. This is a helpful feature as it lets you quickly launch your favorite and most used apps quickly. However, for this to work, Windows has to tracks all your app launch activities in the background so as to find out which apps are more frequently used.
If you think you don’t need the most used apps feature, then you can stop Windows from tracking your app launches. This article will show you how.
Also read: How to Clear Timeline Activities in Windows 10
Disable App Launch Tracking from Settings App
The easiest way to disable app launch tracking is to use the options provided in the Settings app. This enables you to quickly enable or disable the feature as and when needed.
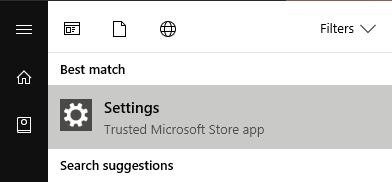
1. To start, search for “Settings” in the start menu and open it. Alternatively, you can also press the keyboard shortcut Win + I to open the Settings app.
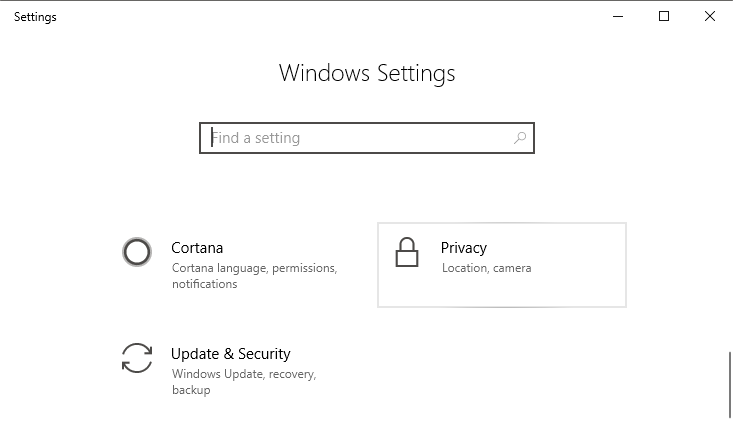
2. In the Settings app go to “Privacy.”
3. Select the “General” tab. On the right panel toggle the button under “Allow Windows to track app launcher to improve Start and search results” to Off.
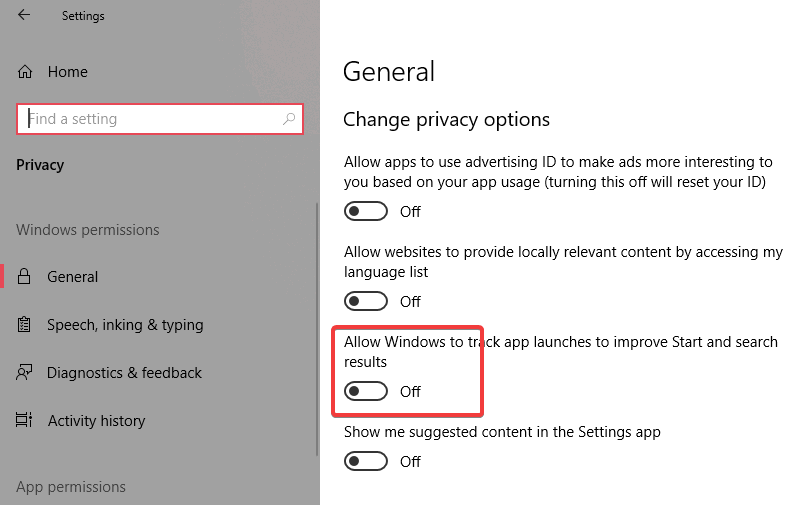
That is it. The changes will be saved automatically. From now on Windows will not track your app launch activities. If you ever want to revert back, just toggle the button to On.
Disable App Launch Tracking Using Regedit
If the above method didn’t work for some reason, you can do the same thing via Windows Registry Editor. All you have to do is create and edit a new value within the Windows Registry Editor. You should be careful while editing the Registry, so back up the Registry before proceeding to edit, just in case.
1. To open Windows Registry Editor search for “regedit” in the Start menu, and click on it. You can also use the Run command regedit.
2. In the Registry Edtior copy and paste the below file path in the address bar and press Enter.
HKEY_CURRENT_USERSOFTWAREMicrosoftWindowsCurrentVersionExplorerAdvanced
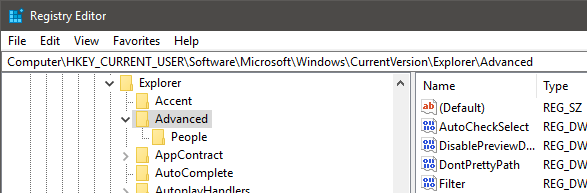
3. Here you will find the registry value “Start_TrackProgs” in the right panel. If not, right-click on the right panel, select “New -> DWORD (32-bit) Value” and name it as “Start_TrackProgs.”

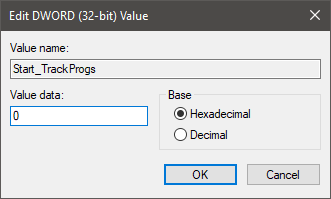
4. To disable app launch tracking, double-click on the “Start_TrackProgs” value and set the value data to “0.” Click on the “OK” button to save the changes. If you’ve just created the value, the value data is already set to “0.”
The changes are instant. However, just to make sure, restart your system to make the changes take effect.
If you want to enable app launch tracking, just change the value data from “0” to “1.”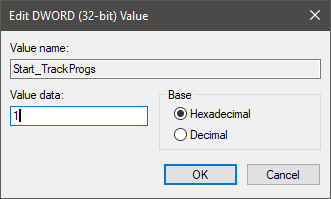
Comment below sharing your thoughts and experiences regarding using the above method to disable app launch tracking in Windows 10.
Image Credit: John Swindells

Vamsi is a tech and WordPress geek who enjoys writing how-to guides and messing with his computer and software in general. When not writing for MTE, he writes for he shares tips, tricks, and lifehacks on his own blog Stugon.
Subscribe to our newsletter!
Our latest tutorials delivered straight to your inbox
Sign up for all newsletters.
By signing up, you agree to our Privacy Policy and European users agree to the data transfer policy. We will not share your data and you can unsubscribe at any time. Subscribe