Once again, Windows 10 changes the way we create and manage users. Learning how to add a new user in Windows is easy, even though it has a new location, and it even comes with more options.
Windows 10 allows us to create two types of users: Family and other users. Family is divided among adults and kids. The difference being that the adults category puts limits on what the kids can use, primarily exercising parental control over the children.
Creating a guest account on a Windows 10 computer is very easy. There are two ways you can create an account.
Method 1
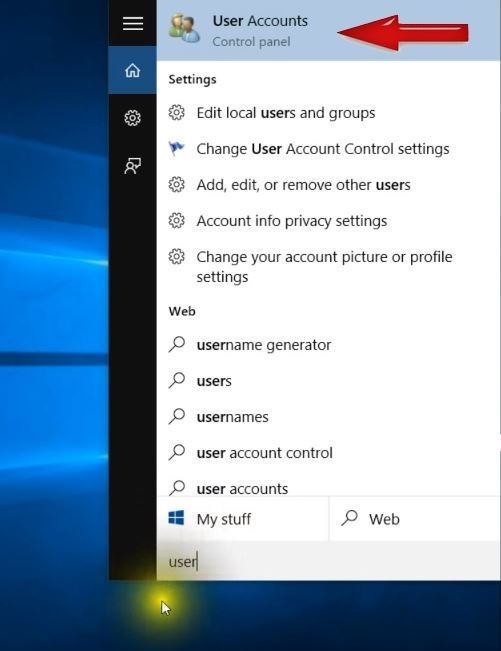
1. Go to the Start menu and begin typing “user.” You should be able to see User Accounts at the top; click on it.
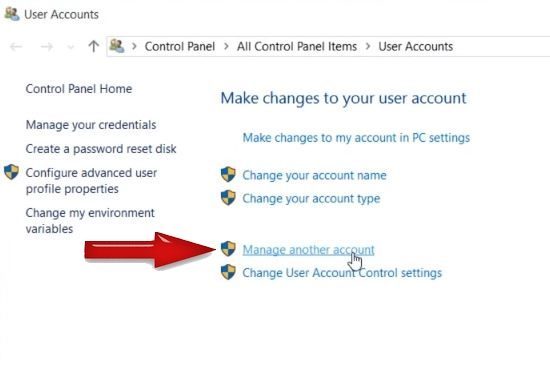
2. Click on Manage Another Account.
3. Click on Add a New User in PC Settings.

4. Make sure you are in the Family and Other users section and at the bottom right-hand corner, click on Add someone else to this PC.

5. In the next window you will be asked how this person is going to sign it. At the bottom click on The person I want to add doesn´t have an email address.

6. Click on Add a user without a Microsoft account.
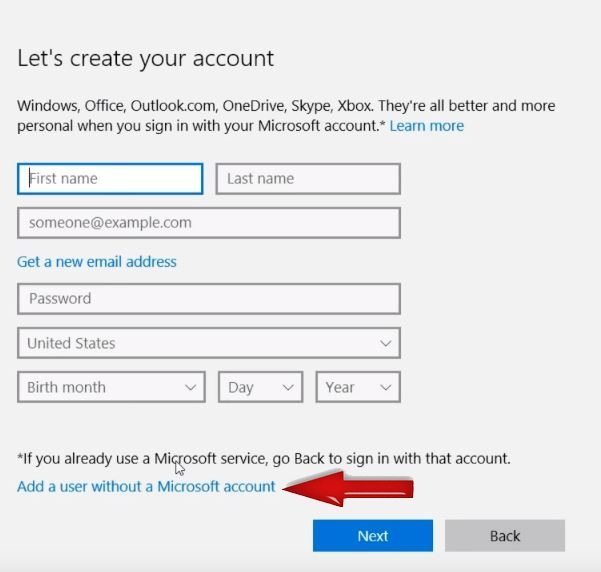
7. To finish up, you will need to fill in the name. You can’t just use “guest.” You will also need to add a password, but it can be something as easy as 123456. To finish, just click on the next button that will be highlighted in blue.
To see if your guest account has been added correctly, you need to go back to the Start button and type “user” again. Go to “User Accounts” just like you did in the beginning, and click on Manage another account.
You should be able to see the guest account right beside yours.
How to Activate the Guest Account
Congratulations! You have created your Windows 10 guest account. After setting it up you need to activate it. To do this you need to click on the Start button and left click on your name; you will see a switch to Guest.
Method 2
1. Click on the search icon, type in lusrmgr.msc and click on the only available option.

2. Under Local Users and Groups, click on Users.

3. Click on Guest in the middle column, and a Guest Properties windows will appear. Type in the name you want the guest account to have.

4. Don´t forget to unclick Account is Disabled so this method can work. Save your changes by clicking on the Apply and OK buttons on the bottom right-hand side of the box.
5. To check if everything was done correctly, go to the Start button, click on your name and you should be able to see the guest account you just created.
Conclusion
As the old saying goes, “All roads lead to Rome.” In other words, there are various ways to do the same thing. The above shows you two methods you can choose from, and you just need to select the one that is easier for you. If you have found the information useful, don´t forget to give a share in your social media accounts and drop a comment regarding which method you decided to use.

Judy Sanhz is a tech addict that always needs to have a device in her hands. She loves reading about Android, Softwares, Web Apps and anything tech related.She hopes to take over the world one day by simply using her Android smartphone!
Subscribe to our newsletter!
Our latest tutorials delivered straight to your inbox
Sign up for all newsletters.
By signing up, you agree to our Privacy Policy and European users agree to the data transfer policy. We will not share your data and you can unsubscribe at any time. Subscribe