How to Write a Textbook? With today’s soaring textbook prices, you might be eager to create your own. Perhaps you’re a teacher frustrated by costly textbooks that fail to serve your students, wondering How to Write a Textbook that fits their needs. Or maybe you’re an expert in a field, keen to organize your knowledge into a practical resource and curious about How to Write a Textbook efficiently. The textbook publishing world is now more open to writers and scholars; with some practice and patience, How to Write a Textbook becomes a manageable process you can master.
Part1 Preparing Your Textbook

Step 1: Decide on Subject and Audience
Choose a subject and grade level audience together, as these choices define your textbook’s content, layout, and design. Write for an audience you know—e.g., a college math professor might struggle to reach middle schoolers without experience. For unfamiliar groups, consider a collaborator familiar with them, as noted by Education Week. When picking a subject, look for underserved areas in education. Does your book fill a market need? See Step 2 for market insights.

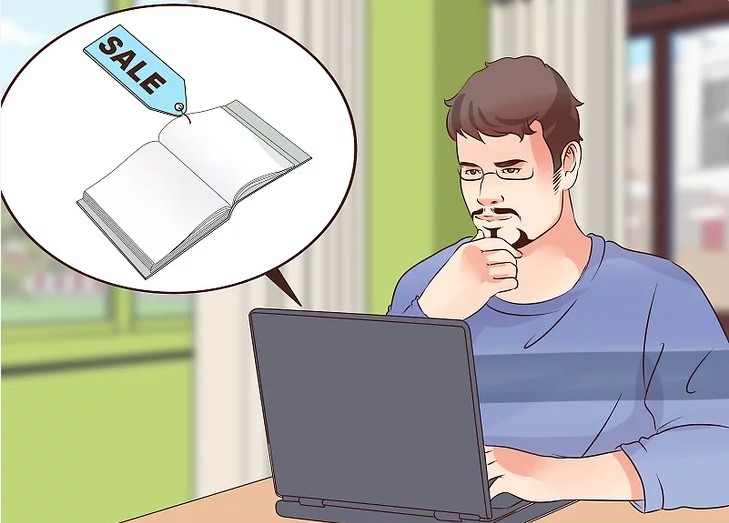
Step 2: Conduct Market Research
Textbook publishing is a big industry, surpassing traditional books or magazines. Investigate existing textbooks and their pricing using Publishers Weekly. Define your Unique Selling Point (USP)—what makes your textbook unique? This USP will persuade publishers and teachers to pick your book. Get tips from peers in Step 3 to sharpen your plan.

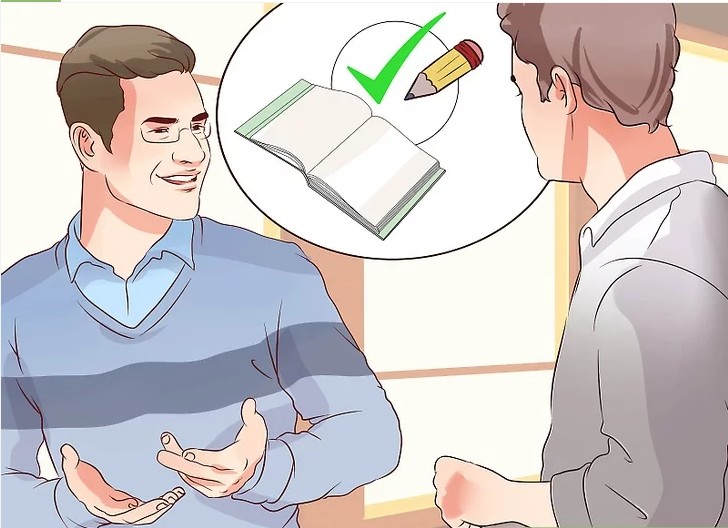
Step 3: Talk to Fellow Authors
Reach out to colleagues who’ve published textbooks for advice. Did they use traditional publishers or self-publish? How long did it take? What do they wish they’d known upfront? Check Inside Higher Ed for author experiences. Their input can shape your approach, especially for digital formats in Step 4.
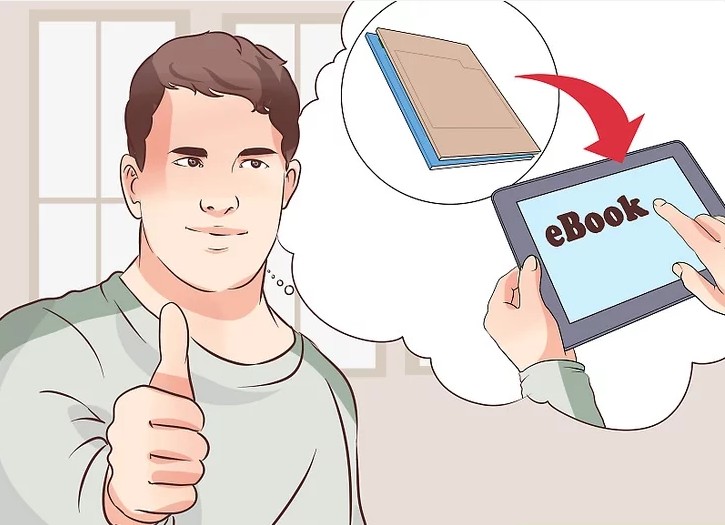
Step 4: Embrace Mobile Formats
Most textbooks today are ebooks, some digital-only, others with print versions. Plan how to tailor your textbook for digital readers—think about adding a website with practice questions or games for younger students. Use tools like Google Sites for extras. Gear up for the long process in Step 5.
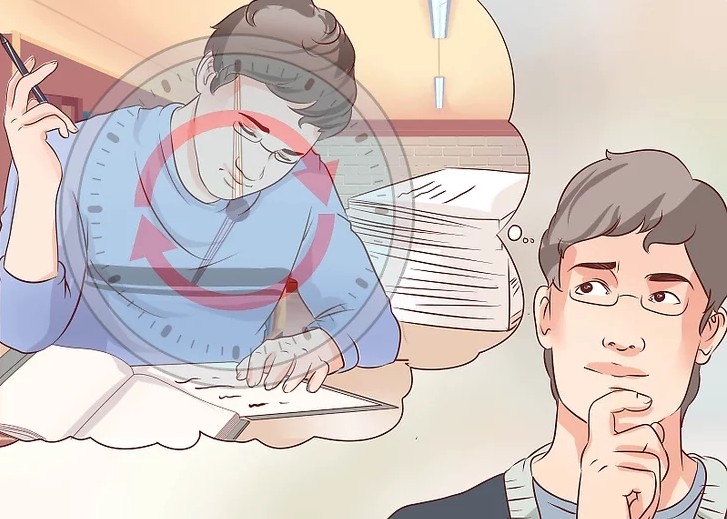
Step 5: Prepare for the Long Haul
Writing a textbook takes time—often years from draft to print. Are you ready for this commitment? Passion for your subject keeps you going; a quick-profit goal won’t pay off. For publishing timelines, revisit Step 3 or explore Chronicle of Higher Education.
Part2 Drafting Your Textbook
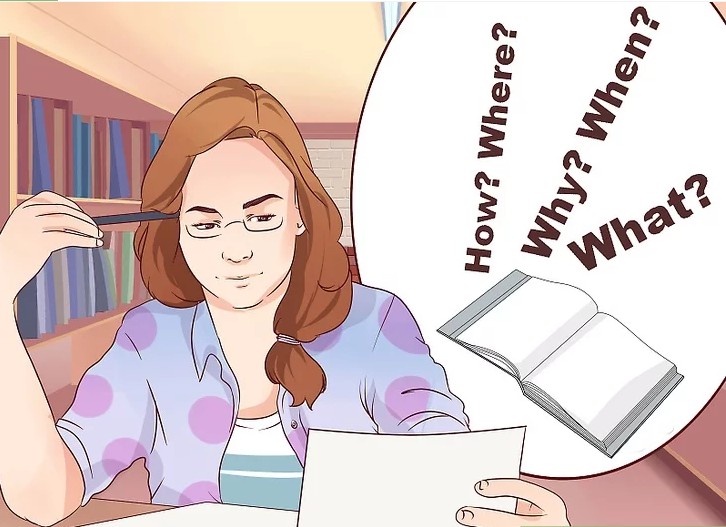
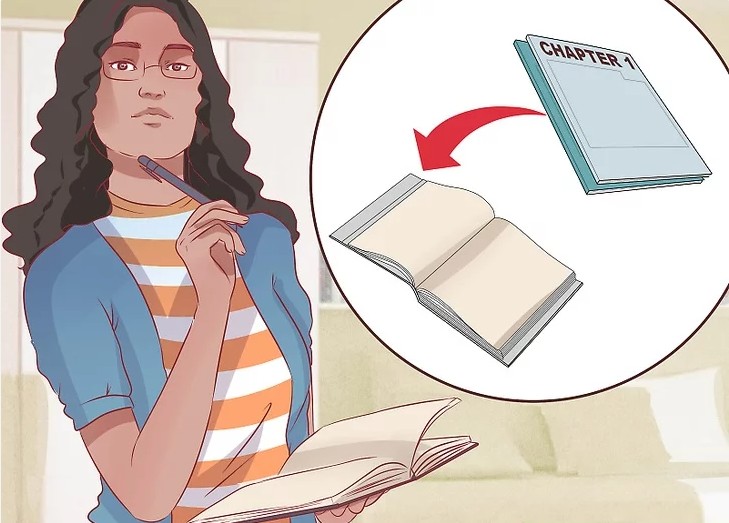
Step 1: Design an Outline
Start by sketching a rough structure for your textbook. Ask yourself key questions to guide this process: How many chapters will you include, and how will topics be split across them? Will chapters stand alone, or must students read them in sequence? Will you order them by increasing difficulty, preparing students for the next grade level by the end? Refer to Step 2 for content prioritization.

Step 2: Determine the Most Important Material
You can’t cover every detail of your subject, so focus on essential content. Consider the course goals: What skills should students master, and what knowledge prepares them for the next level? How will your textbook align with standardized tests? Explore sample tests at College Board to inform your choices. See Step 3 for drafting tips.
Step 3: Draft Each Chapter
Resist perfecting each chapter before moving on—it slows progress. Instead, draft every chapter fully first. This helps you see how they connect and where to adjust content length. Set a consistent writing schedule, like 3:00-5:00 PM on Tuesdays and Thursdays, and stick to it. Avoid sporadic, marathon sessions. If facing a publisher’s deadline, set weekly goals and don’t delay. Check Step 4 for layout ideas.

Step 4: Incorporate Helpful Visuals into an Engaging Layout Design
Keep students engaged by avoiding dense text blocks. Break up pages with visuals like pictures, tables, or graphics. Basic word processors like Microsoft Word may fall short for this—try a layout tool like Adobe InDesign to blend text and images seamlessly. Take time to learn InDesign basics, especially if self-publishing. Ensure all external images or graphics have permission to avoid copyright issues—learn more at U.S. Copyright Office.
Part3 Preparing Your Textbook for Publication
Step 1: Hire an Editor
Find an editor—whether from a textbook publisher, an independent professional, or a colleague in your field—to review your work. An extra pair of eyes is essential. They’ll help organize and clarify your content, plus refine grammar and word choice at the sentence level. For editing tips, see Step 2 on working with publishers’ editors.

Step 2: Publish with a Traditional Textbook Press
Choose between a traditional textbook press or self-publishing. Major presses like Pearson, McGraw-Hill, Cengage, and W.W. Norton & Co. offer about 10% royalties per sale. Visit their “Contact” pages for submission guidelines—e.g., Pearson’s guidelines. Submit a book proposal with the title and 1-2 paragraph chapter summaries, explaining your book’s content and value to students. Ensure it aligns with their existing catalog to ease marketing. Note: signing with a press means selling your copyright. Explore Step 3 for an alternative.
Step 3: Self-Publish Your Textbook
With traditional publishing often competitive, self-publishing is gaining traction and can be more lucrative. Amazon now offers textbook self-publishing—sell at $9.99 or less for 70% royalties, far exceeding traditional rates. Other options include iBooks or a personal website. Self-publishing skips the book proposal and lets you keep your rights, but marketing to schools and universities is tougher. Revisit Step 1 for ensuring quality before release.
Part4 Launching and Selling Your Textbook

Step 1: Market Your Textbook
With a traditional press, marketing is handled for you, but self-publishing means crafting your own strategy. Promote your work effectively—consider tips from Step 4 for event-based ideas or explore self-publishing guides at Writer’s Digest.

Step 2: Sell to Your Students
As a teacher, your students are your first customers. Make your textbook a required class resource and explain its purpose. If self-published, price it well below traditional textbooks—check benchmarks at Amazon Textbooks—to avoid seeming exploitative. See Step 3 for broader reach.
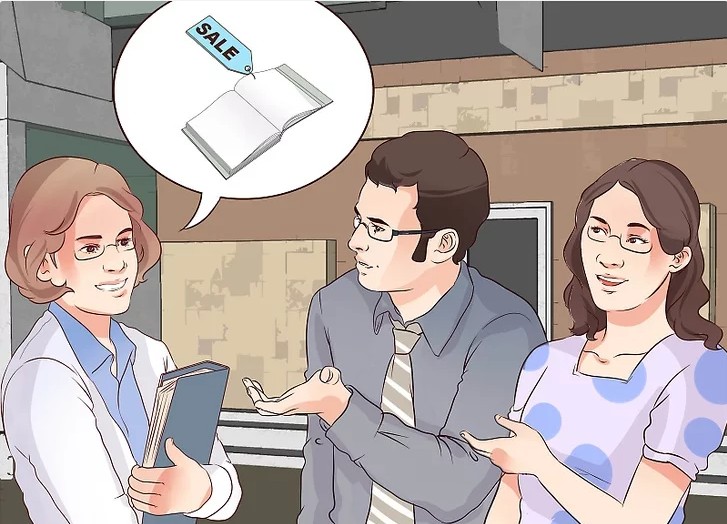
Step 3: Sell to Your Colleagues
If your textbook works well in your classroom, share that success with fellow teachers and researchers. Offer sample lesson plans or worksheets to preview its value. Connect with peers at Step 4 events or through platforms like Edutopia.
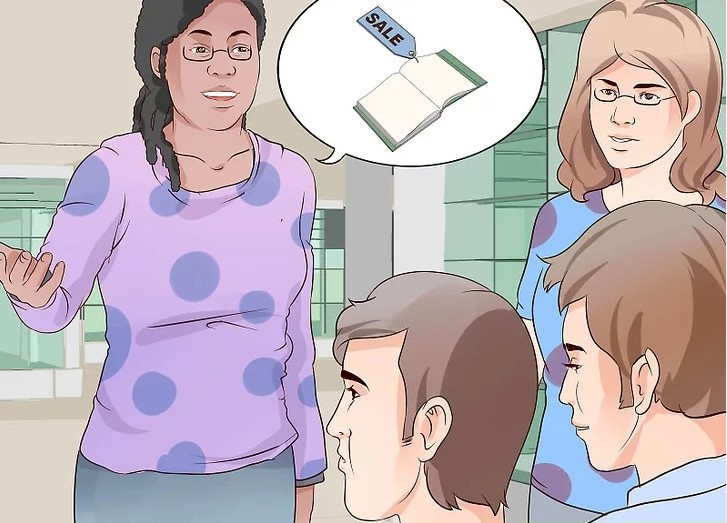
Step 4: Market It at Professional Events
At annual field conferences, contact organizers to secure a booth for selling your textbook to colleagues—find events via Chronicle of Higher Education. Reach out to popular bloggers in your niche for reviews to boost visibility. Link this with Step 5 for credibility.

Step 5: Get Strong Reviews
Secure endorsements from other teachers and researchers to enhance your credibility and textbook value. Positive reviews can be showcased from efforts in Step 3 or Step 4. Check review strategies at Publishers Weekly.