
Having a non-functioning brightness slider on your Windows PC can be a frustrating experience. This problem can be caused by a number of reasons, such as outdated drivers, corrupt system files, and hardware-related problems in the system. Below, we explore some effective solutions to get your brightness slider working again on Windows. Follow the steps carefully to troubleshoot and fix the problem.
Good to know: does HDR look bad on your Windows monitor? Learn how to fix that.
Content
- Preliminary Fixes
- 1. Enable the Generic PnP Monitor Driver
- 2. Run the Hardware and Devices Troubleshooter
- 3. Apply a Registry Fix
- 4. Enable Adaptive Brightness
- 5. Try Alternate Ways of Changing the Brightness
Preliminary Fixes
Before we delve into the specific fixes for the error, let’s try a few preliminary troubleshooting methods to see if they can help.
- Restart your device: the first course of action should be restarting the device, as temporary glitches in the system can cause issues with certain components, like the brightness slider. While you are at it, we also recommend removing any external peripherals that are unnecessary.
- Run a system scan: the brightness slider functionality in Windows relies on different system files and drivers that are responsible for controlling display settings. If any of these files are corrupt or missing, it can cause issues with adjusting the brightness. If you suspect that’s the case, run a system scan using the System File Checker (SFC). This tool is accessible via Command Prompt and will automatically resolve any identified issues.
- Update the graphics drivers: your graphics driver may also be outdated or corrupted, leading to the problem. Make sure your drivers are up to date.
- Update the system: the brightness slider issues can also be caused by a software bug, glitch or certain incompatibility issues. To counter such problems, install the pending system updates that can provide bug fixes, security patches, and feature enhancements to address software-related problems like this.
Check whether the brightness slider is working the way it is supposed to. If the issue persists, move to the next method below.
1. Enable the Generic PnP Monitor Driver
The Generic PnP monitor driver is the default driver that allows the system to configure the connected monitor and ensures proper functionality of the brightness controls. It also provides a standardized interface for controlling various aspects of the monitor, including brightness settings.
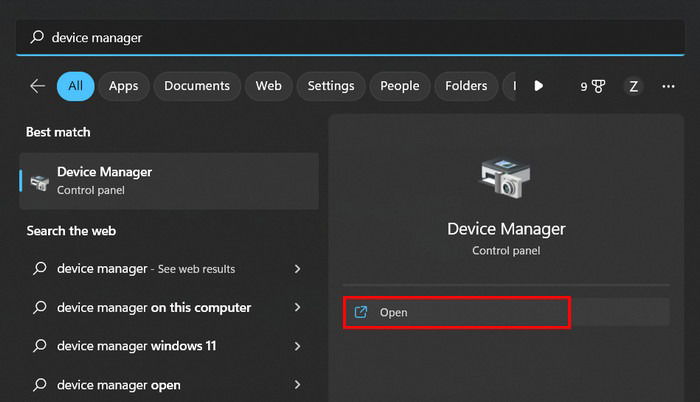
- Type “device manager” in Windows Search, and click “Open.”
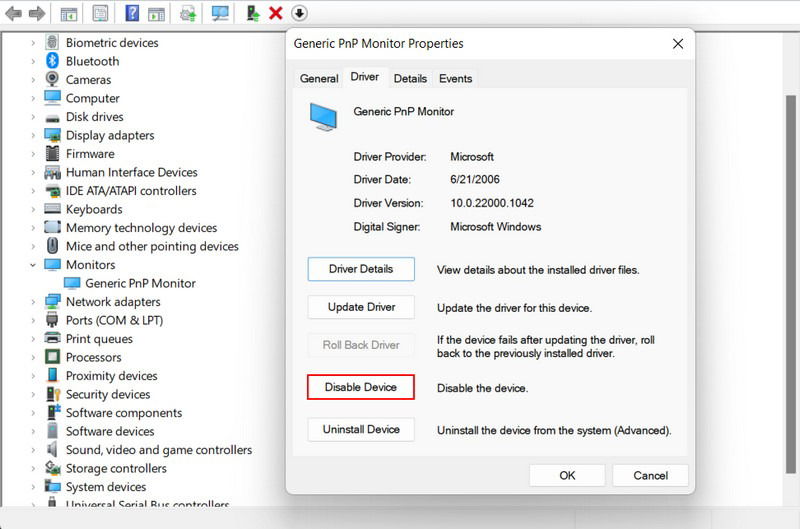
- Expand the “Monitors” category, and right-click on the entry associated with your computer (in this case, “Generic PnP monitor”).
- Choose “Properties” from the context menu.

- Head to the “Driver” tab, and choose “Enable Device.” If the device is already enabled, click “Disable device,” then re-enable it.
- Click on the “Action” tab in the top pane, and select “Scan for hardware changes” from the context menu.

- Close the Device Manager, and check whether the issue has been resolved. If you faced the issue after installing a driver update, you can also try rolling back the driver to its old state, where the issue was not present.
2. Run the Hardware and Devices Troubleshooter
You can also try running the built-in Hardware and Devices troubleshooter, which will scan the system for any hardware-related issues that may be leading to the error and fix them.
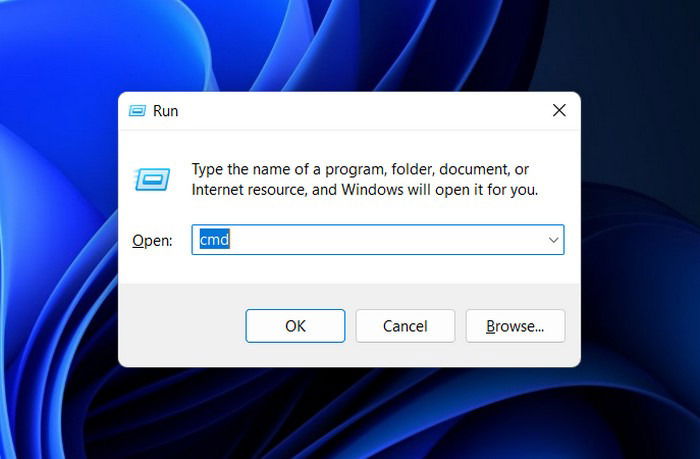
- Press Win + R to open Run.
- Type
cmdin the text field, and press Ctrl + Shift + Enter to open Command Prompt as an administrator.
- Click “Yes” in the User Account Control prompt.
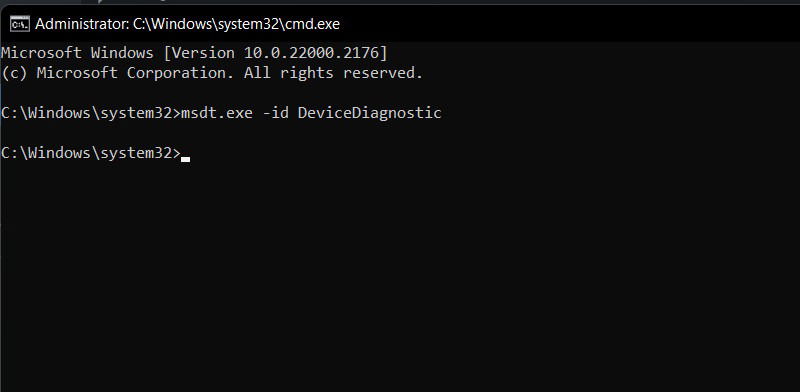
- Inside the Command Prompt window, type the command below, and hit Enter to execute it:
msdt.exe -id DeviceDiagnostic
- Click “Next” on the Hardware and Devices troubleshooter prompt.
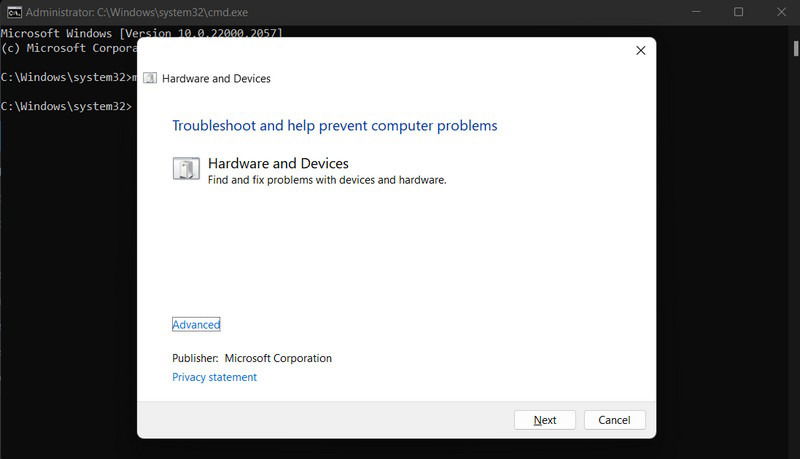
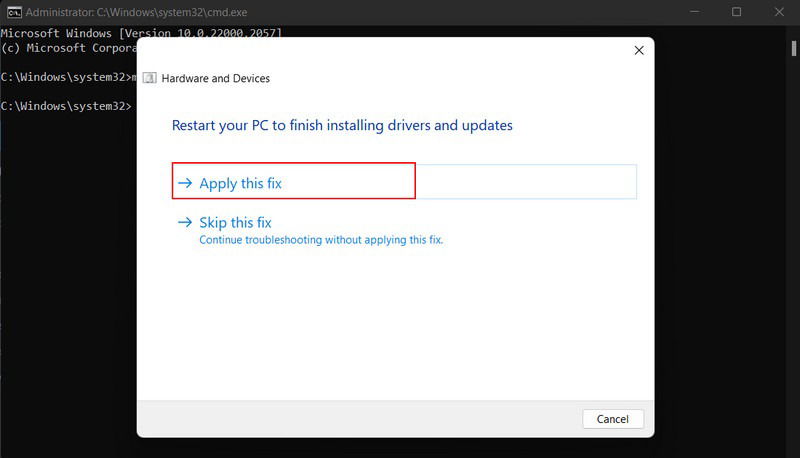
- Follow the on-screen instructions to proceed with the scan. Once it completes, review the results. If the troubleshooter has identified a problem and suggested a fix, click on the “Apply this fix” option. In some cases, the troubleshooter may not have enough resources to implement the fixes, but you can follow the instructions and do it yourself.
- Otherwise, choose “Close the troubleshooter,” and move to the next solution below.
FYI: technical terms can be confusing, so we explain what a nit of screen brightness is and answer the question of how many you need.
3. Apply a Registry Fix
Another solution that can help fix the brightness problem in Windows is modifying the “FeatureTestControl” key in the Registry Editor. However, before you proceed with this fix, it is essential to create a Registry backup, just to be safe.
- Open a Run dialog and type
regedit, then press Enter.

- Click “Yes” in the User Account Control prompt.
- Navigate to the location below in the Registry Editor:
ComputerHKEY_LOCAL_MACHINESYSTEMControlSet001ControlClass{4d36e968-e325-11ce-bfc1-08002be10318}�001
- Move to the right side, and double-click the “FeatureTestControl” value.
- Change the “Value data” to “f008,” and click “OK” to save the changes.

- Close the Registry Editor, and restart your computer.
- Hopefully, the brightness issue will be fixed. You can always undo these Registry changes by following the same steps of launching the “FeatureTestControl” value and changing the “Value data” to the number it was before you replaced it with “f008.”
4. Enable Adaptive Brightness
Enabling adaptive brightness can serve as a workaround to automatically adjust the screen brightness based on the surrounding lighting conditions. This feature provides convenience if you haven’t updated your operating system to a newer version.
- Press Win + I to open the Settings app.
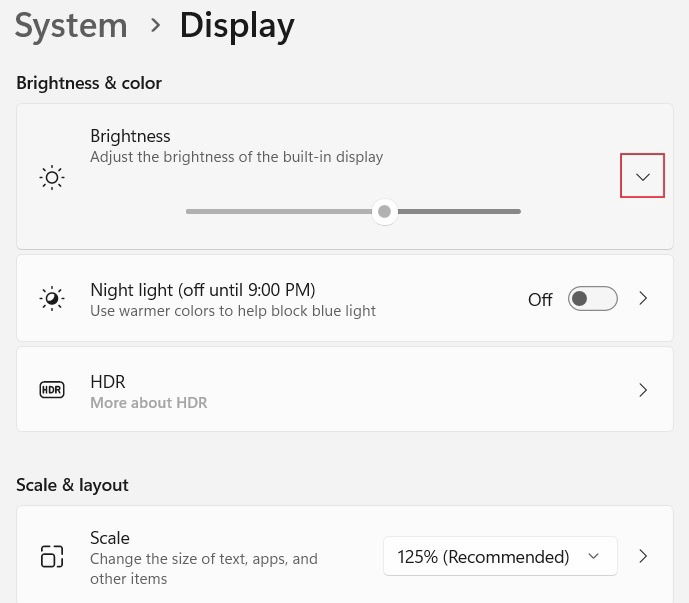
- Navigate to “System -> Display.”

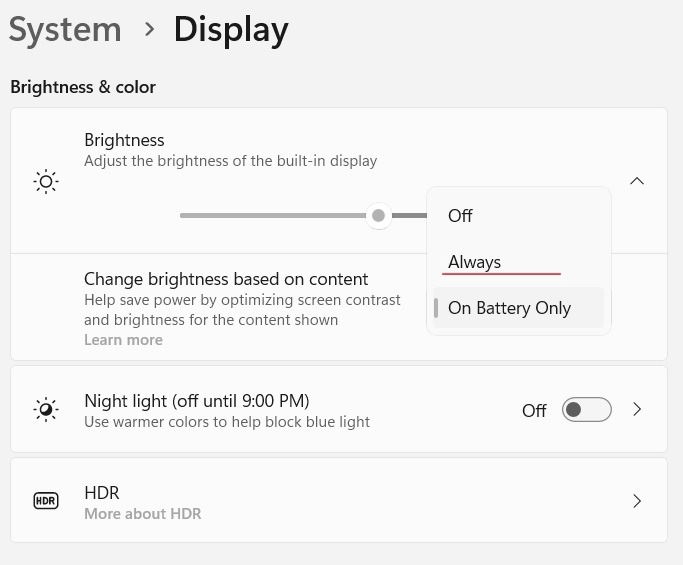
- Click on the downward arrow next to the Brightness slider.
- Click on the “Change brightness based on content” option, and choose “Always.”
- If you’re running Windows 10 on your PC, you’ll need to go through Control Panel to enable adaptive brightness. Set the “View by” category to “Large icons,” select “Power options,” then navigate to “Change plan settings -> Change advanced power settings.” Click “Display” and change the settings for “Display brightness,” “Dimmed display brightness,” and “Enable adaptive brightness.”
Tip: if you’re experiencing screen resolution issues on your PC, check out this post to see how to deal with them effectively.
5. Try Alternate Ways of Changing the Brightness
If you continue to experience problems with the brightness slider, there are alternative methods you can try to adjust the brightness in Windows. These include using a keyboard shortcut, adjusting settings in the Windows Mobility Center, and even utilizing a Powershell command.
Refer to our guide on the different ways to manually or automatically adjust screen brightness in Windows for further assistance.
We hope that one of the suggested fixes in this article has helped you restore the functionality of the brightness slider in Windows. If nothing has worked for you so far, though, consider resorting to a third-party brightness control app. To avoid this issue from popping up in the future, we recommend not installing unnecessary or conflicting software and maintaining a clean and malware-free system by using a reliable antivirus program.
Image credits: Pixabay. All screenshots by Zainab Falak.

Zainab Falak –
Staff Writer
Zainab is an Actuarial Sciences graduate from Pakistan with a passion for technology. When she’s not busy writing insightful pieces on Windows and the latest tech trends, you’ll find her with her nose buried in a productivity book, always on the lookout for ways to optimize her workflow and stay ahead of the curve.
Subscribe to our newsletter!
Our latest tutorials delivered straight to your inbox
Sign up for all newsletters.
By signing up, you agree to our Privacy Policy and European users agree to the data transfer policy. We will not share your data and you can unsubscribe at any time. Subscribe